14 Kitchen Wall Storage Ideas Using Rails, Hooks and Magnetic Strips
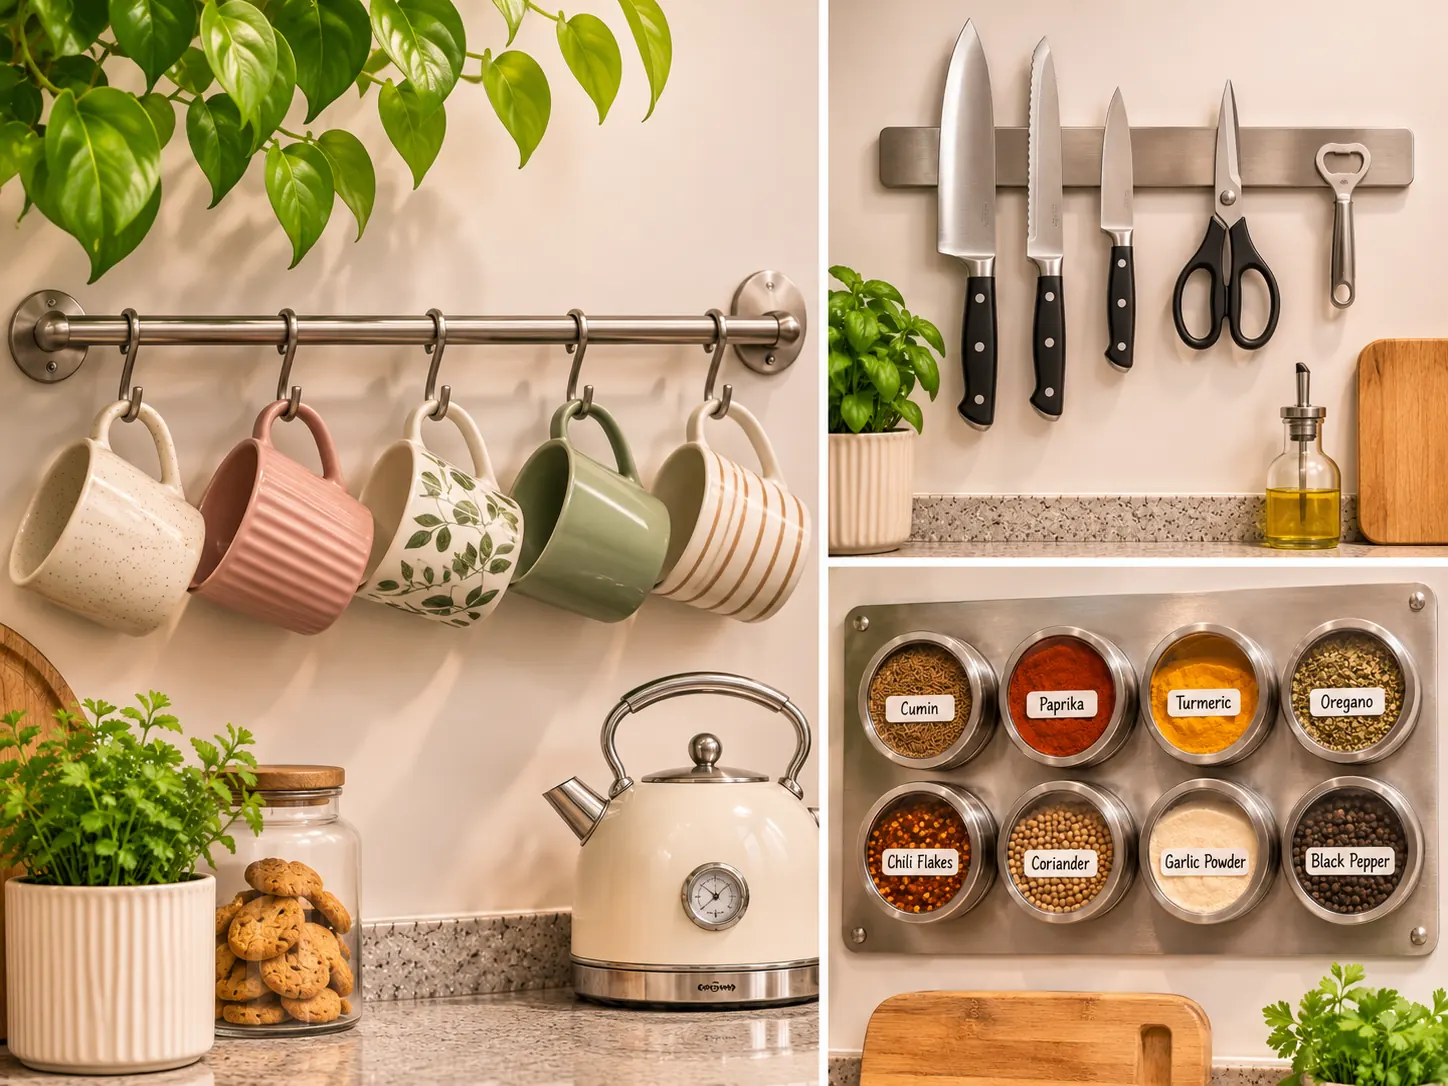
Most kitchen storage advice starts with a cabinet or a drawer, and that is the problem when you have almost none of either. The counter fills up instead, and every cooking session starts with moving things around.
The wall is the one surface most small kitchens leave bare. These kitchen wall storage ideas use rails, hooks and magnetic strips to lift tools, lids, mugs and rolls off the counter, and most of them stick on instead of screwing in.
That matters if you rent or share your kitchen. Each idea here suits a small kitchen with little cabinet room, and each one comes with a reminder to check your lease and the product’s weight limit first. Start with the one that clears your worst counter corner.
Quick Look: What’s Inside
| Category | Covers Ideas | Best For |
|---|---|---|
| 🍴 Utensil and Tool Rails | Ideas 1, 11, 13 | Cooks short on drawer space |
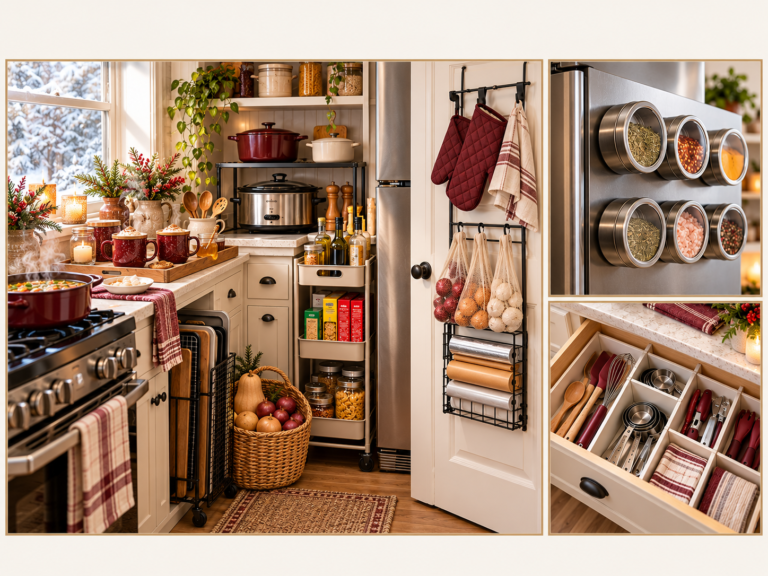
| 🧲 Magnetic Strip Fixes | Ideas 2, 5, 12 | Metal tools, tins and jars |
| 🥣 Dishes, Lids and Boards | Ideas 3, 4, 9 | Kitchens with no cabinet room |
| 🧺 Baskets, Bags and Clips | Ideas 6, 10, 14 | Bulky and floppy items |
| 🧻 Rolls, Towels and Mitts | Ideas 7, 8 | Clearing counter clutter fast |
1. Hang a Utensil Rail With S-Hooks Beside the Stove
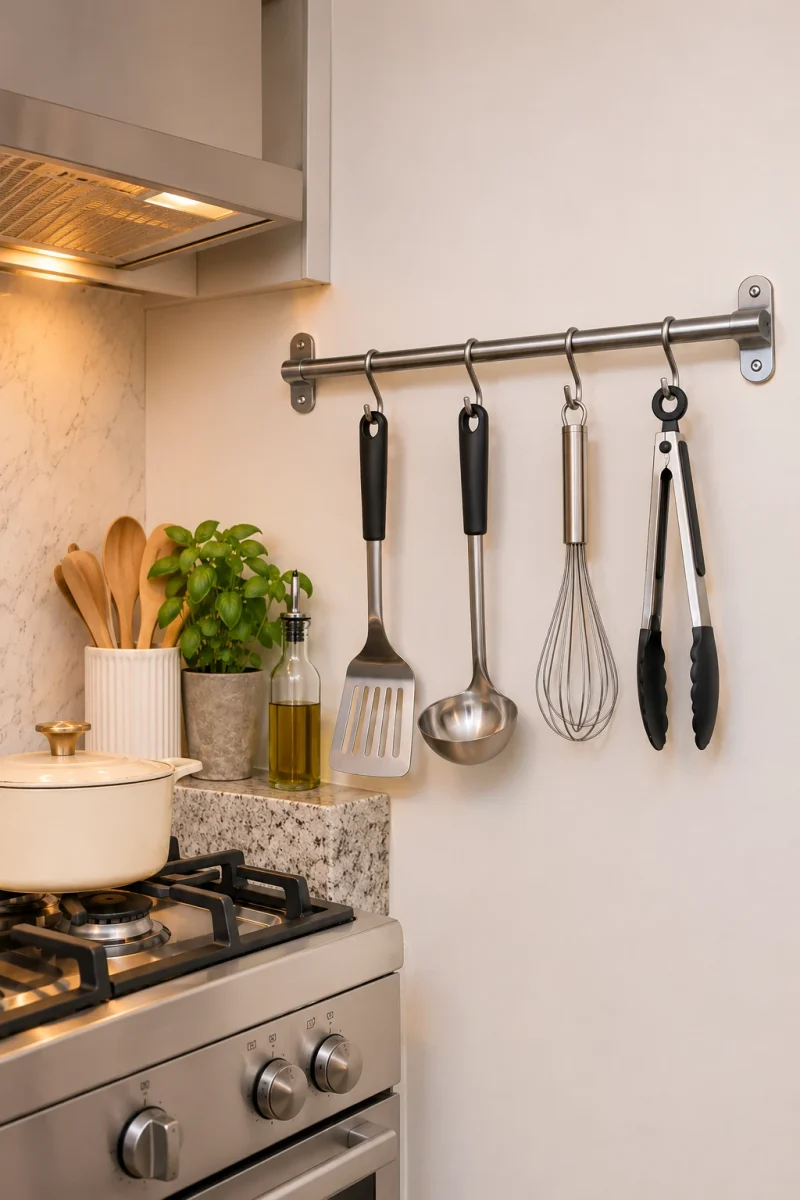
Drawers that jam are what push cooking tools onto the counter, so give the spatulas a wall of their own.
A slim stainless steel rail with a row of S-hooks keeps ladles, whisks and tongs within arm’s reach of the burner. Look for a rail with an adhesive or no-drill mount, hooks that slide along the bar, and a stated weight limit. Check your lease first, and stay under that limit, since a full set of metal tools adds up fast.
Space-Saving Tip: Hang the heaviest tools closest to the mounting ends of the rail, and leave one hook empty for whatever you just used.
2. Stick a Magnetic Strip Up for Knives and Other Metal Tools

One strip can clear an entire knife block off the counter.
Pick a magnetic strip with an adhesive backing or a no-drill mounting kit. Look for a length that holds your usual blades side by side, a strong magnet, and a stated weight limit. Metal scissors, a bottle opener and a peeler cling to it too. Check your lease before sticking it up.
Space-Saving Tip: Mount the strip at the end of a counter run, where the wall is usually bare and out of the way of cooking traffic.
Before you load the strip
3. Line a Mug Rail Along an Empty Wall Stretch
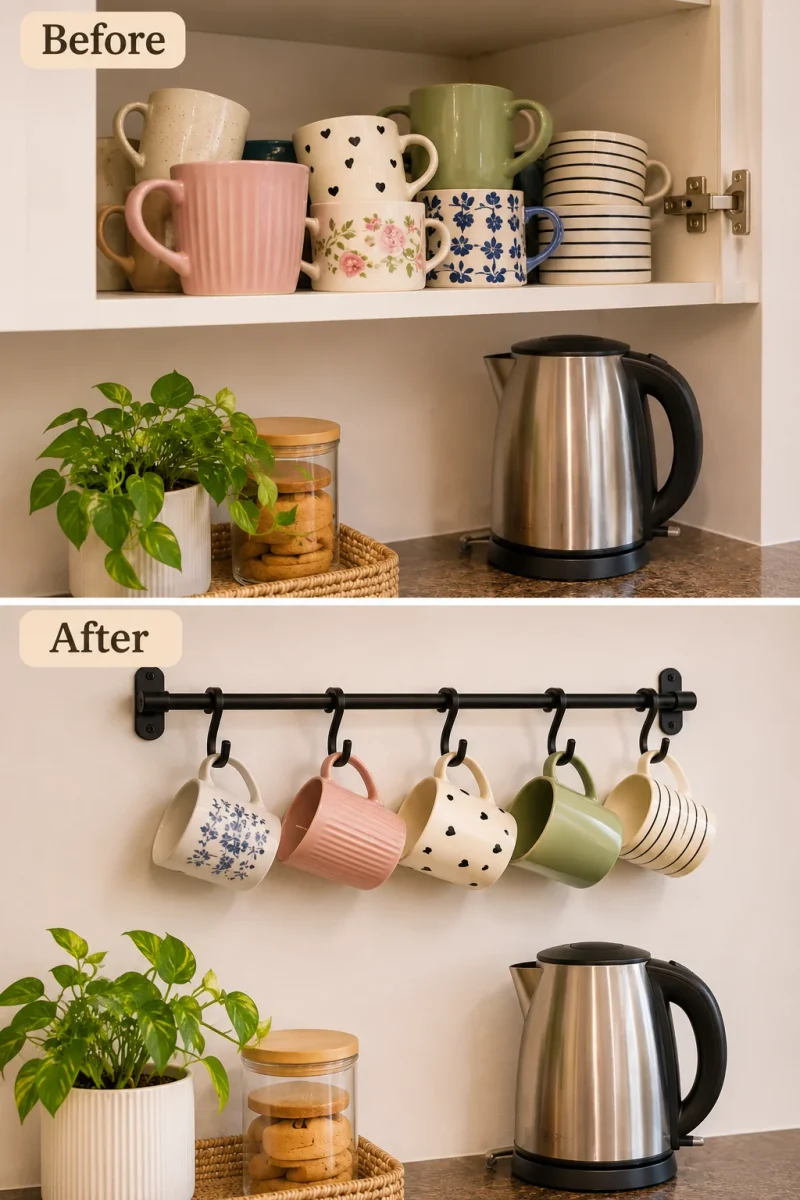
The cabinet nearest the kettle is always the first one to run out of room.
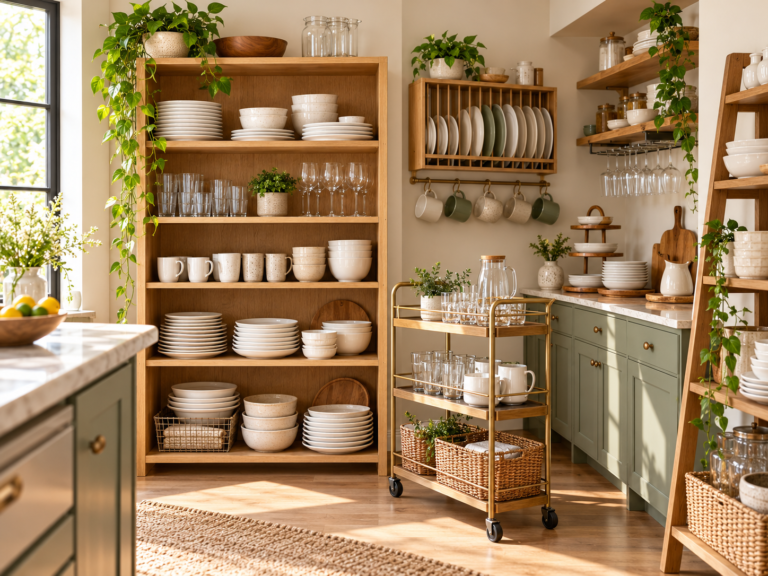
A horizontal rail with hooks turns a bare strip of wall into a home for the mugs you use every day. If cups are your main headache, these ways to organize dishes, cups and glasses without cabinets pair well with this one. Look for hooks spaced wide enough that handles do not collide, an adhesive or no-drill mount, and a clear weight limit. Check your lease before you stick it up.
Space-Saving Tip: Hang mugs on every other hook so each cup has breathing room and lifts off without a clink.
Mugs stacked three high in a cabinet, with the bottom ones stuck behind the rest.
The daily mugs hang in one row where you can see them, and the cabinet shelf is free for bowls.
4. Hang Pot Lids on a Narrow Wall Rail
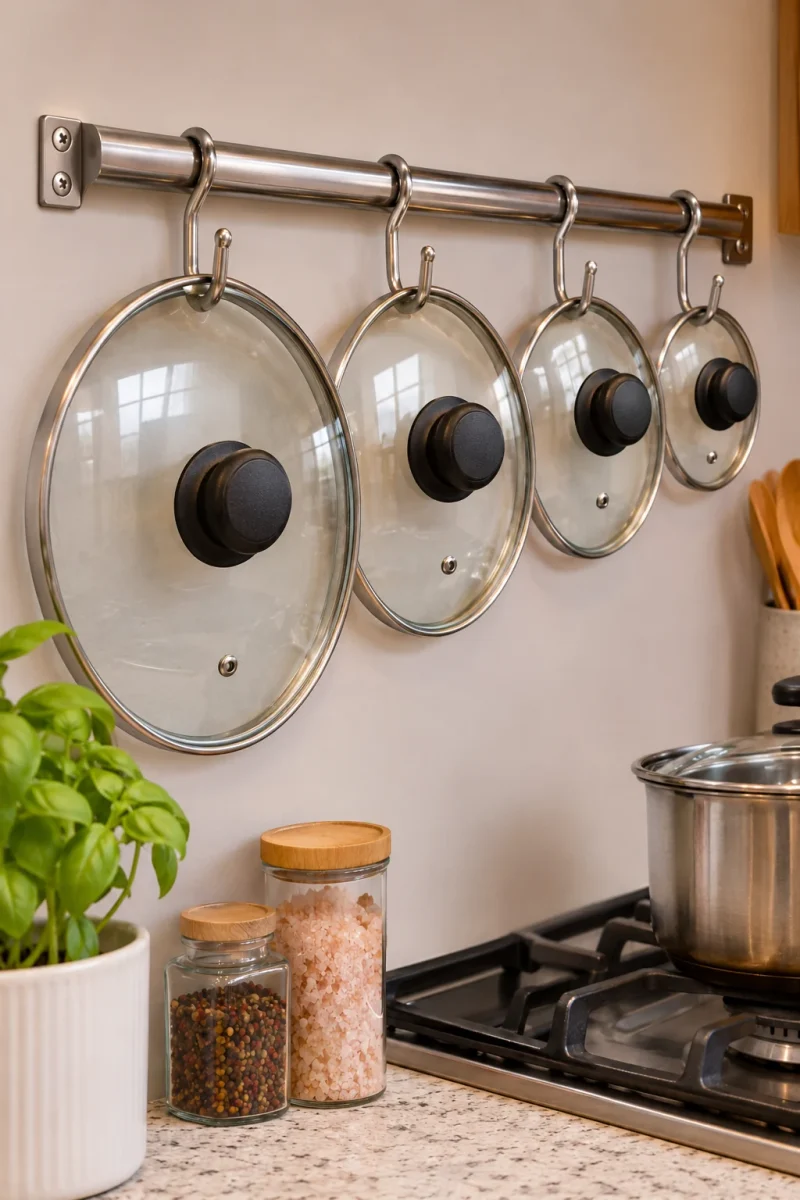
Mount a slim rail with hooks, or a dedicated lid rack, and hang each lid by its handle.
Lids are awkward in a drawer because they slide and clatter. Look for hooks tall enough to clear lid knobs, a stated weight limit, and an adhesive or no-drill mount. Glass lids weigh more than steel ones, so check the limit and your lease before you commit.
Bonus Move: Hang each lid on the side of the rail nearest the burner its pan usually uses, so the match is obvious at a glance.
Gather every lid and sort them from largest to smallest.
Choose a wall spot within reach of the stove and stick the rail on, then wait the time the pack states before hanging anything.
Hang the biggest lids first, then fill in the smaller ones beside them.
5. Put Spice Tins on a Magnetic Plate by the Prep Area
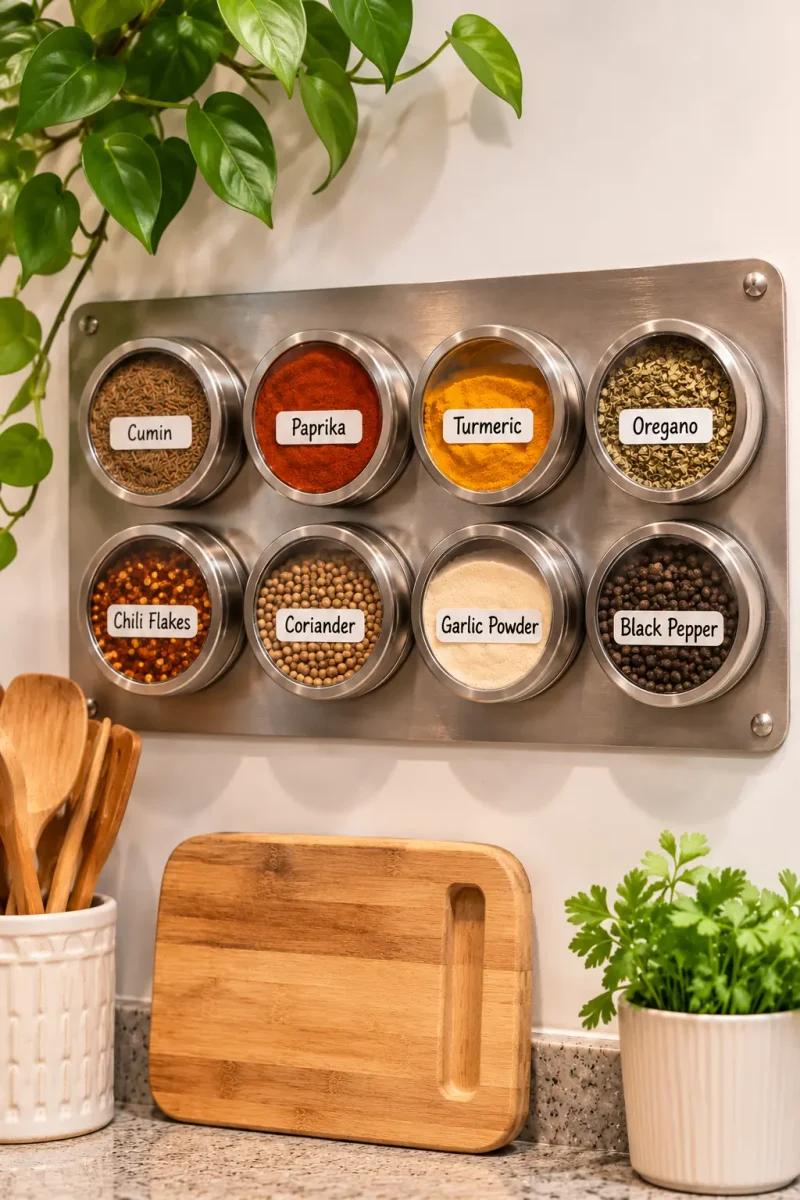
Rows of small tins with their labels facing out can be read from across the room.
Magnetic spice tins grip a steel plate that mounts on the wall with adhesive strips, so no cabinet shelf is needed. Look for tins with clear lids, a plate sized to the number of tins you own, and a weight limit that covers the full set. Check your lease before mounting the plate.
Space-Saving Tip: If wall width is short, run the plate in a tall column instead of a wide row.
6. Hang Produce Baskets From a Rail

Fruit and onions tend to end up in the one cabinet you need for something else.
A rail with hooks can carry wire or mesh hanging baskets for produce that does not need the fridge. Look for open-weave baskets so air can move through, hooks that keep the handle from slipping, and a weight limit that suits fruit, not just light items. Check your lease before using adhesive.
Space-Saving Tip: Mix one shallow basket and one deeper one on the same rail, so small and bulky items each get a fit.
⚠️ Watch Out
Full baskets weigh more than they look. Add up what you plan to hold and compare it with the rail and adhesive limit before you hang them.
7. Stick a Paper Towel and Foil Holder to the Wall
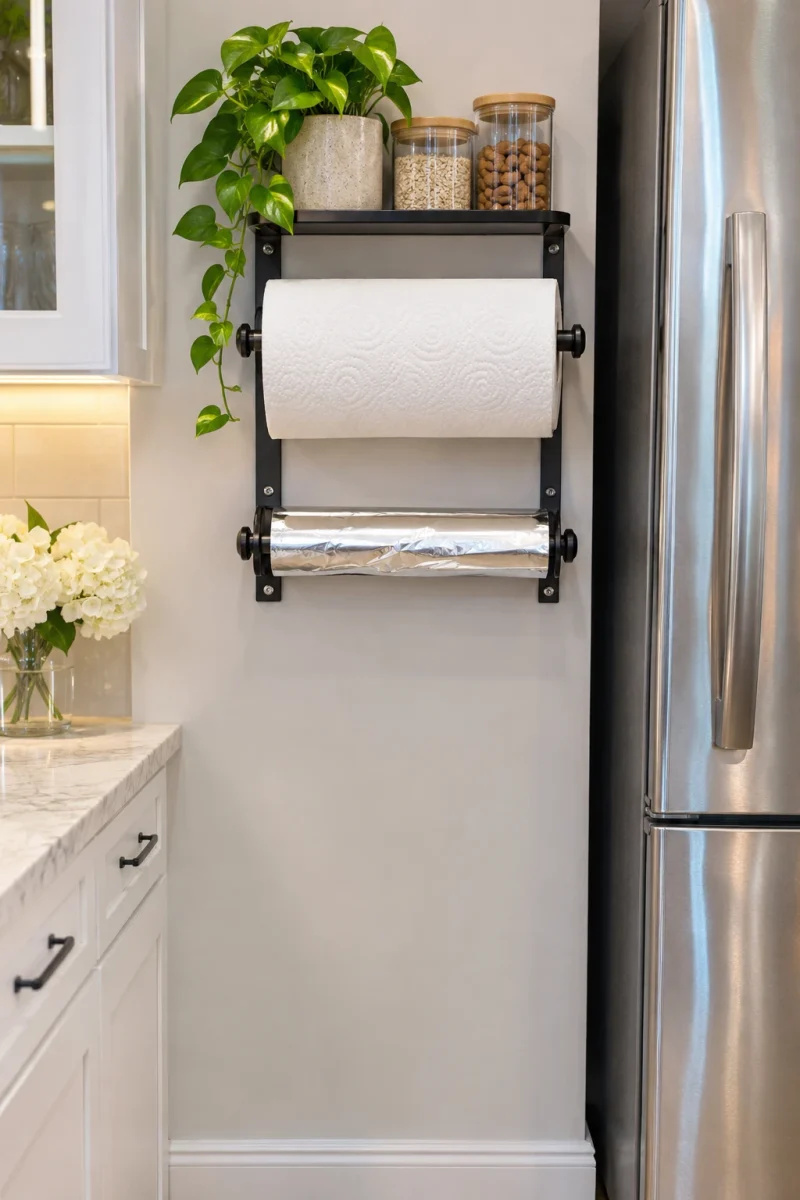
Here is a simple rule: rolls belong where your hand lands, not where they take up counter space.
A wall mounted holder frees the spot a standing paper towel stand would take. A multi-roll rack can hold foil and wrap too. Look for an adhesive mount, a bar that releases rolls easily, and a stated weight limit. Check your lease before sticking it up.
Space-Saving Tip: Mount it in the gap beside the fridge or under a shelf, in the spot too narrow for anything else.
Mount it at hand height near the prep area.
Check that a full roll clears the wall and nearby handles.
A spot right over a burner, since heat can affect adhesive.
Hanging heavy bottles from the same holder.
Quick Comparison Table: Ideas 1 to 7
| Idea | Space Needed | Cost Level | Best Use |
|---|---|---|---|
| 1) Utensil rail | One short wall stretch | Low | Spatulas, ladles and tongs |
| 2) Magnetic strip | Narrow wall strip | Low | Knives and metal tools |
| 3) Mug rail | Short wall stretch | Low | Daily mugs |
| 4) Lid rail | Narrow wall strip | Low | Pot and pan lids |
| 5) Magnetic spice plate | One wall panel | Medium | Small spice tins |
| 6) Produce baskets | Wall stretch with clearance | Medium | Fruit and onions |
| 7) Roll holder | Small wall gap | Low | Paper towels and foil |
8. Use Adhesive Hooks for Oven Mitts and Towels
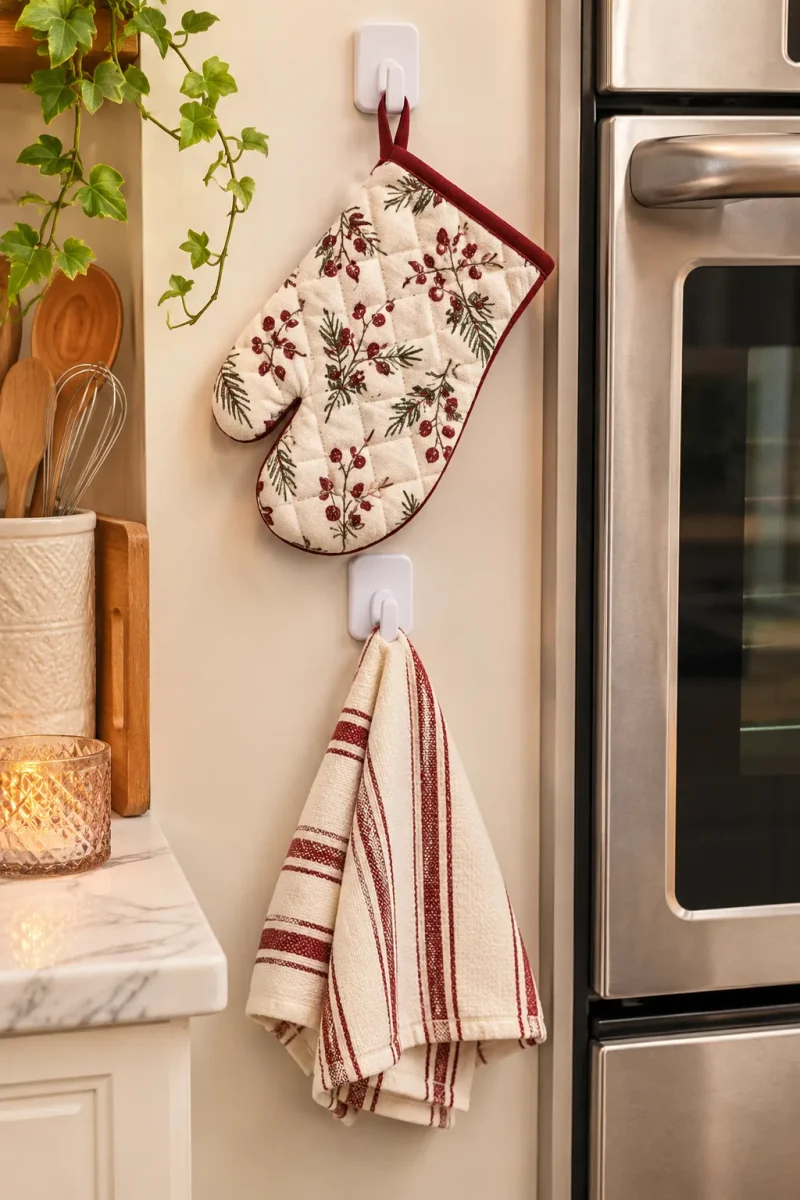
The oven door handle is where mitts end up, and it is never where you need them.
A few small adhesive hooks give mitts, pot holders and towels a fixed spot. When the colder months bring bulkier gear into the kitchen, these winter kitchen organization ideas for limited storage help you sort what else needs a home. Look for hooks with a smooth finish and a clear weight limit. Check your lease first.
Space-Saving Tip: Stack two hooks one above the other beside the oven, one for mitts and one for a towel, so a thin strip of wall does double duty.
- ▸Oven mitts with a hanging loop
- ▸Dish towels with a sewn loop or a clip
- ▸Flat pot holders
- ▸A light apron you grab daily
9. Hang Cutting Boards From Wall Hooks in a Spare Corner
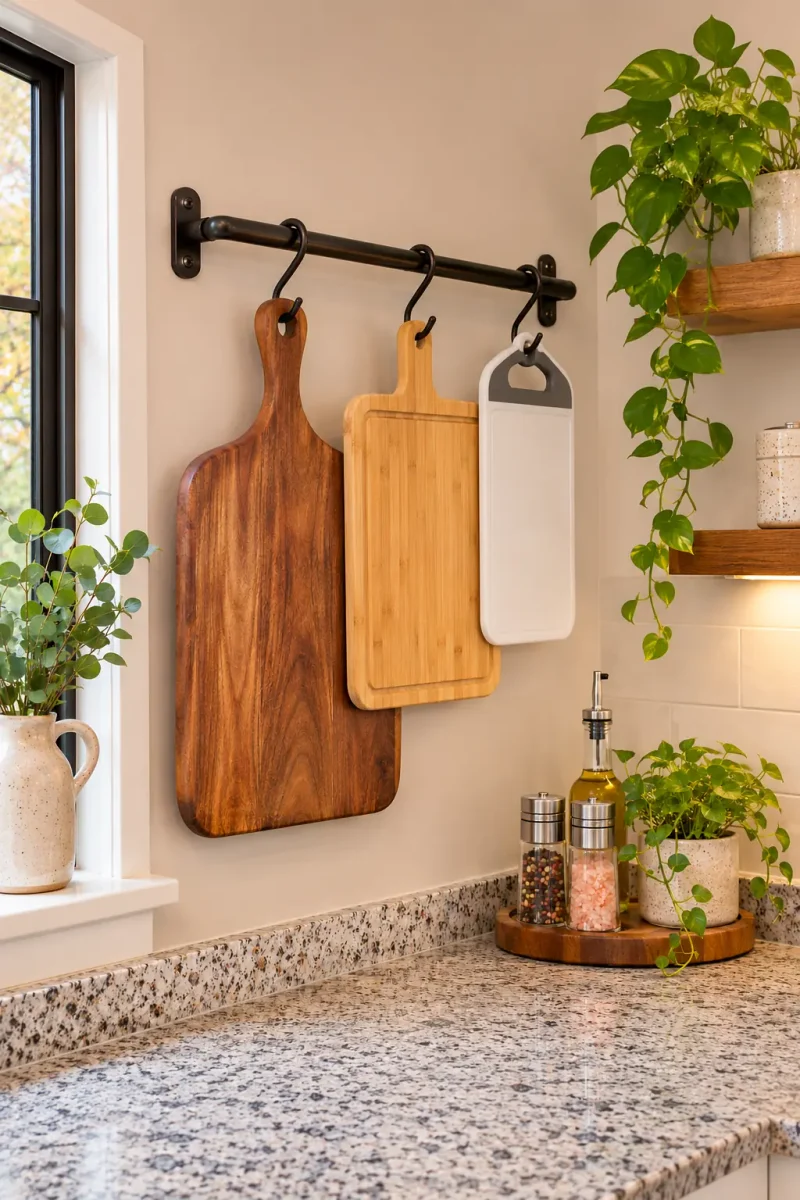
Boards that lean in a cabinet slide, slam and hide behind each other.
Pick boards with a hole or loop at the handle end, or add a rail with hooks that fit around the board. Look for hooks with a smooth finish, a clear weight limit, and an adhesive or no-drill mount. Wood boards weigh more than plastic ones, so check the limit and your lease first.
Extra Trick: Put the largest board on the outer hook and smaller ones on hooks beside it, so none hides behind another.
The weight limit on the packaging is the real boundary, not how sturdy the item looks.
10. Clip Snack Bags to a Rail With Chip Clips

Chip clips are not only for chips.
Pair a rail that has hooks with sturdy bag clips, and opened snack and baking bags hang in plain sight instead of slumping in a pile. Look for clips with a firm grip, a rail with enough hooks for your bags, and a stated weight limit. Check your lease before mounting.
Space-Saving Tip: Keep snacks at one end of the rail and baking supplies at the other, so you find a bag without opening three.
Before you hang a bag
11. Hang Small Rail Containers for Coffee and Tea Supplies
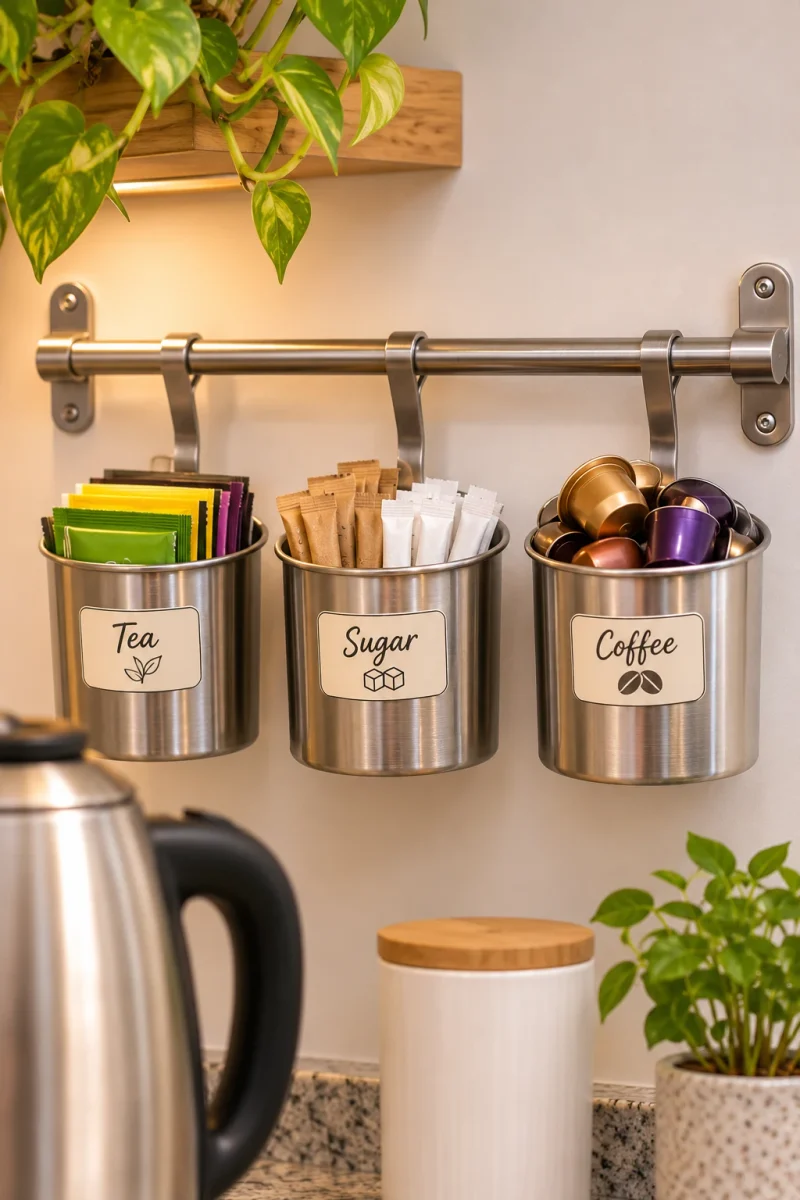
A countertop jar claims counter space, while a rail container claims only wall.
Rail mounted cups and small bins hang from a bar and hold tea bags, sugar sachets, stir sticks or coffee pods. Look for containers that lock onto the rail, a rail with an adhesive mount, and a stated weight limit. Check your lease before you stick it up.
Space-Saving Tip: Place the rail beside the kettle, so supplies sit where your hand goes first in the morning.
🔑 Renting this kitchen? These renter friendly storage ideas that protect your security deposit cover more no-drill options for other rooms too.
12. Use the Fridge Side With Magnetic Racks
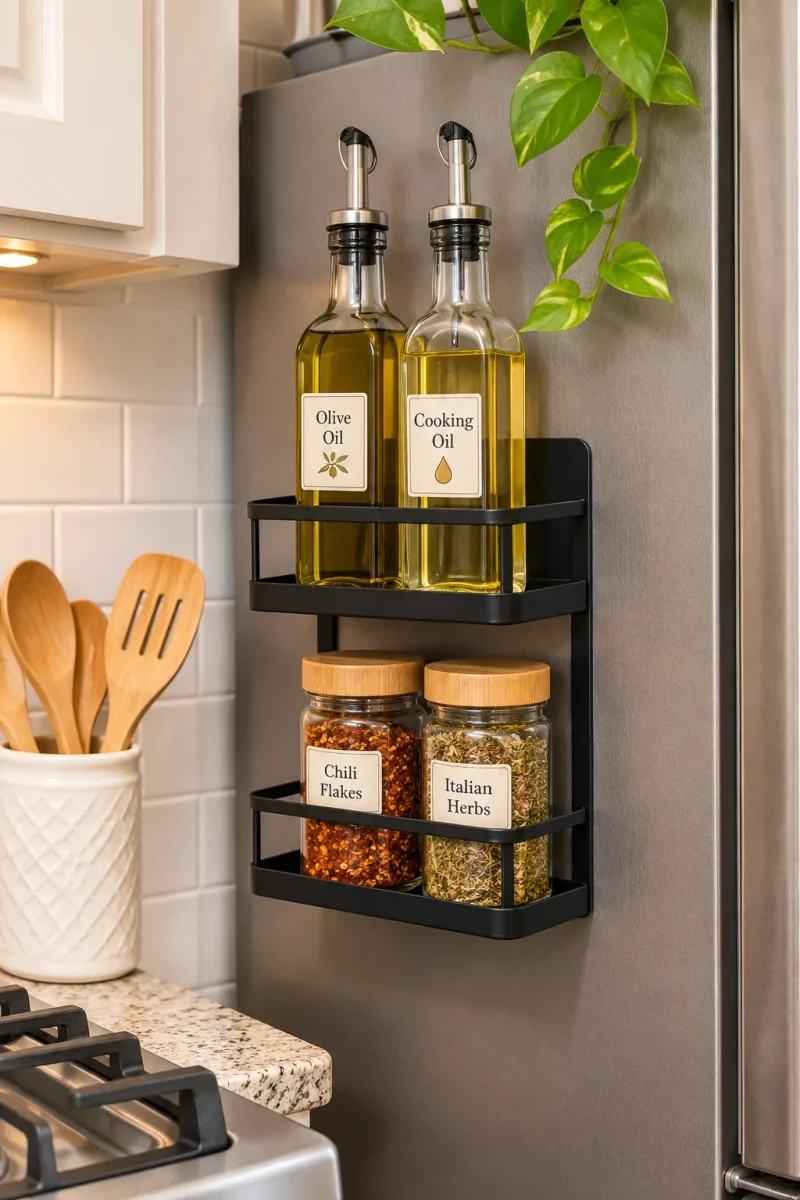
The gap beside the fridge is wall space nobody uses.
A magnetic rack clings to a steel fridge side, so there is no wall work at all. Choose a magnetic shelf rack with a lip, or one with hooks, for oils, spice jars and small tools. Look for strong magnets, a lip or rail that holds items in place, and a stated weight limit. Check that the fridge side is metal, and confirm your lease and appliance rules.
Space-Saving Tip: Choose the fridge side nearest the stove, so oils and jars sit one step from the burner.
📌 Good To Know
Some fridges have curved or coated sides that magnets grip poorly. Test with one small item before you load the whole rack.
13. Hang Measuring Cups and Spoons on Wall Hooks

People hang measuring cups loose, then hunt for the one size they need.
A set that already sits on a ring slides onto one hook, and you take it down whole. Look for a set with a hanging hole in each handle, a ring that stays closed, and a small adhesive hook with a clear weight limit. Check your lease first.
Smart Add-On: Stick a small label beside the hook, so anyone sharing the kitchen knows where the set lives.
Keep the cups and spoons on one ring.
Hang the set at the end of a counter run, near where you bake.
Hanging cups that have no hole, since they slip off the hook.
Overloading one small hook with a second heavy set.
14. Park Reusable Bags on a Hook Cluster
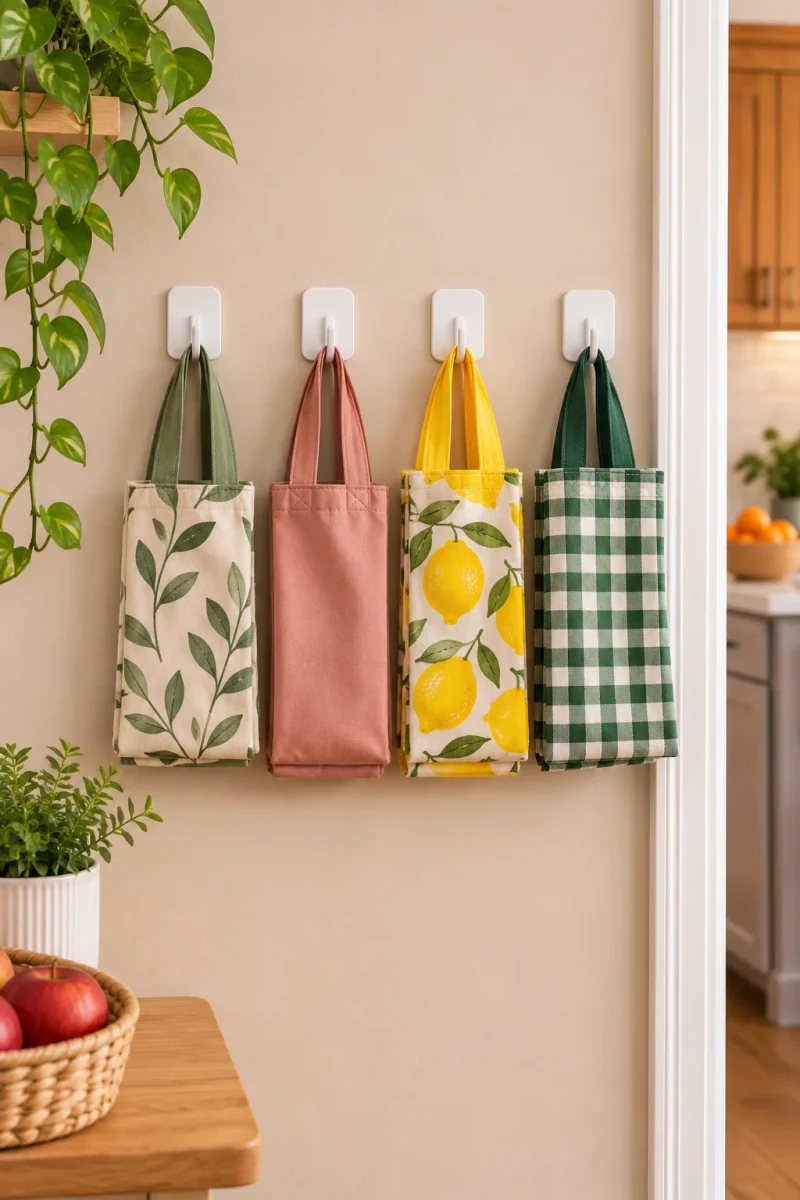
Bags pile up in a drawer or under the sink, then burst out when you open it.
Three or four wall hooks in a tight cluster hold one bag each. Choose hooks with a rounded tip so fabric does not snag. Look for a hook strip or individual adhesive hooks with a clear weight limit, a smooth finish, and enough spacing that bags do not bunch. Check your lease first.
Space-Saving Tip: Hang the bag you use most on the front hook, and keep the spares on the back ones.
Fold each bag into a loose roll so it hangs flat.
Stick the hooks in a short row, leaving a hand width between each.
Hang one bag per hook, with the lightest bags on the outer hooks.
Quick Comparison Table: Ideas 8 to 14
| Idea | Space Needed | Cost Level | Best Use |
|---|---|---|---|
| 8) Adhesive hooks | Small wall patch | Low | Mitts and towels |
| 9) Board hooks | Narrow wall strip | Low | Cutting boards |
| 10) Clip rail | Short wall stretch | Low | Opened snack bags |
| 11) Rail containers | Short wall stretch | Medium | Tea and coffee supplies |
| 12) Fridge side rack | Side of the fridge | Medium | Oils and spice jars |
| 13) Measuring hooks | Small wall patch | Low | Measuring cups and spoons |
| 14) Bag hooks | Small wall patch | Low | Reusable bags |
Short Q&A
Do adhesive rails and hooks work on rental walls? They often can, but it depends on the wall finish and the weight you hang. Textured or freshly painted walls grip adhesive less well, and adhesive can still mark some paint, so read your lease and test a small spot first.
How do I know what a magnetic strip will hold? Check the weight limit on the product, and use tools made of steel or iron. Some stainless steel is not magnetic, so test one item before you load the whole strip.
What should go at eye level? The things you grab every day, like mugs, daily spices and your most used tools. Heavier or rarely used items can sit lower or higher.
Can I mix rails, hooks and magnets on one wall? Yes. Group them by task, such as a cooking zone and a coffee zone, and leave a little blank wall between groups so nothing looks crowded.
Make the Wall Do the Work
A bare kitchen wall holds more than most people expect. Start with one rail or one magnetic strip, see what leaves the counter, and add the next idea once the first one settles in.
A mix of these kitchen wall storage ideas often does more than any single fix, and none of them need a cabinet. Before you stick anything up, read the lease and the weight limit, then test with one light item.
Save this list for the next time your kitchen needs sorting.