20 Renter Friendly Storage Ideas That Protect Your Security Deposit
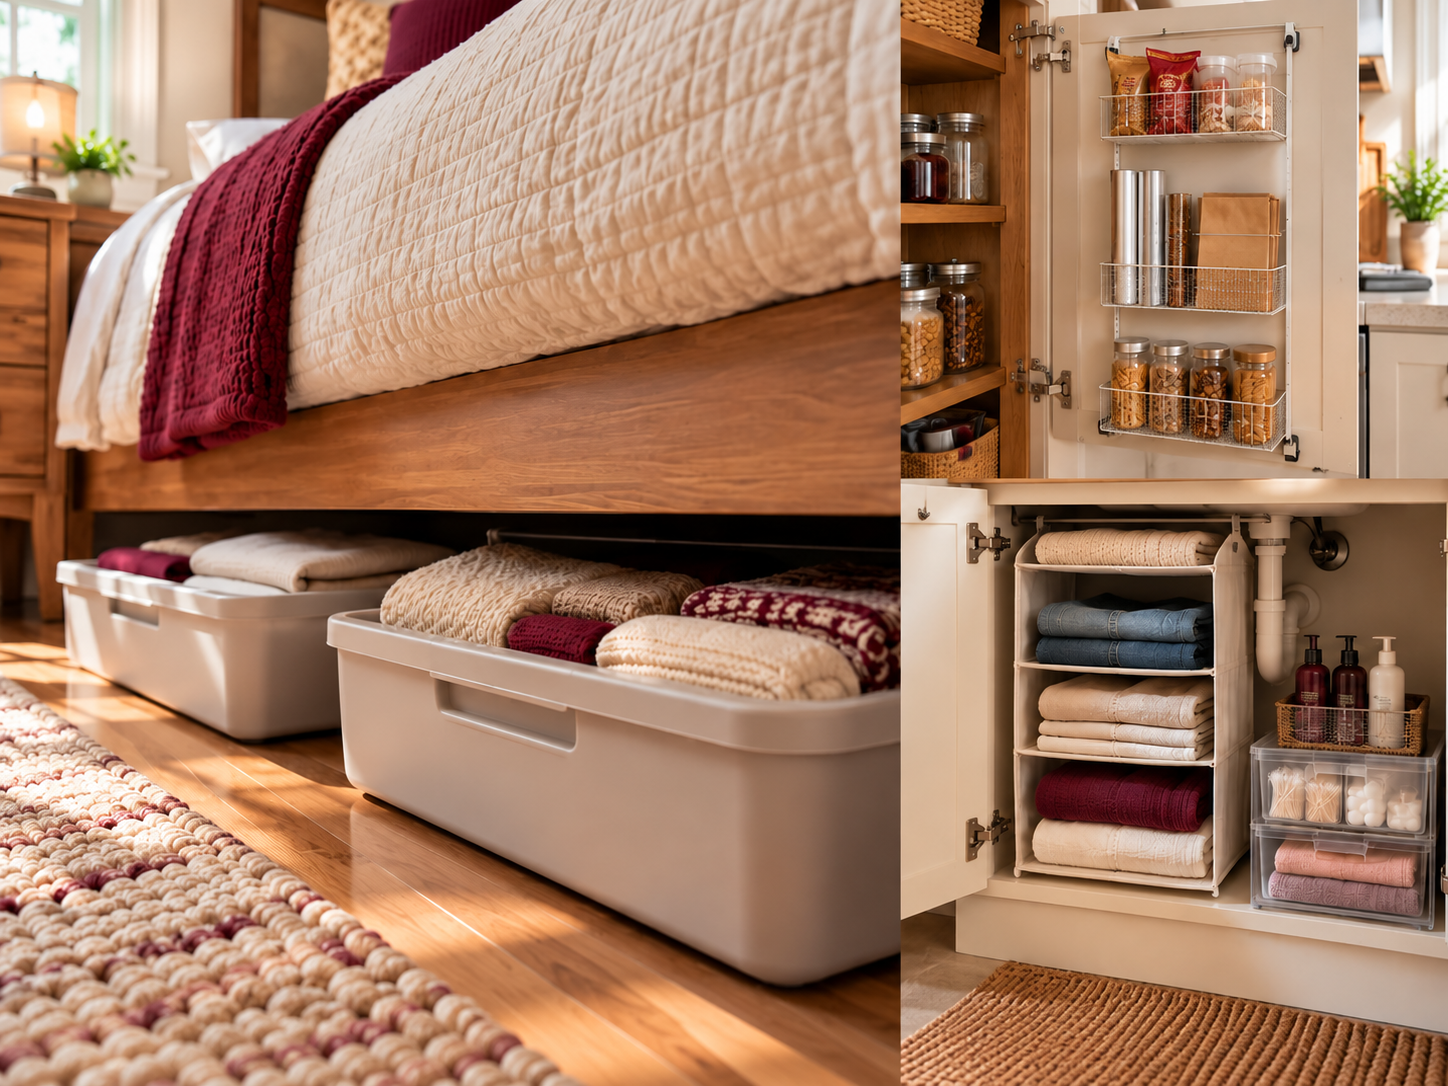
Most storage advice starts with a drill and a drill is exactly what a lease usually rules out.
That leaves renters stuck with a sink cabinet full of plumbing, one skinny drawer, and a closet that was never built for two people. The fix is rarely a bigger space. It is smarter use of the space you already have, with things that sit, hang, clip, or stack and can leave when you do.
These renter friendly storage ideas cover the kitchen, bathroom, and bedroom, and each one works without cutting into walls or cabinets. Every idea is low cost, and every one comes with a note on what to check before you buy. Pick the few that match your problem spots and skip the rest.
Quick Look: What’s Inside
| Category | Covers Ideas | Best For |
|---|---|---|
| Under Sink Fixes | Ideas 1, 2, 10 | Cabinets crowded by pipes |
| Shelf, Drawer and Fridge Side | Ideas 3, 5, 7, 18 | Everyday items you reach for often |
| Door Space | Ideas 4, 6, 11, 14 | Walls you cannot touch |
| Bathroom Add-Ons | Ideas 8, 9, 12 | Tight bathrooms with no built in storage |
| Closet Rod Tricks | Ideas 15, 16, 17 | Closets with one rod and no shelves |
| Under Bed and Shared | Ideas 13, 19, 20 | Bedrooms and roommate setups |
1. Hang Spray Bottles From a Tension Rod Under the Sink

Bottles lying flat under the sink take over the whole cabinet floor, and the pipe in the middle makes it worse.
A spring loaded tension rod set across the cabinet, just below the top, lets spray bottles hang by their triggers. The floor clears for bulkier things like a bucket or a roll of bags. Check your lease and the rod’s weight limit first, since a full row of bottles adds up.
Look for: a rod with rubber end caps and a firm twist lock.
Space-Saving Tip: Hang a small hook from the rod itself and use it for rubber gloves or a dish brush, so the cabinet door stays clear.
2. Slide a Two-Tier Organizer Around the Pipes

A cabinet that is half pipes still has usable floor on either side.
A two-tier sliding organizer sits on the cabinet floor and adds a second level above the first, with no screws involved. Slide it out like a drawer and the back of the cabinet is finally within reach. Measure the opening around the pipes before you buy so the frame fits.
Look for: an open frame, adjustable tier height, and a base that sits flat on the cabinet floor.
Space-Saving Tip: Put tall bottles on the lower tier and flat items like sponges and cloths on top, so nothing blocks the door when it closes.
Measure before you buy
3. Split a Junk Drawer With Adjustable Dividers
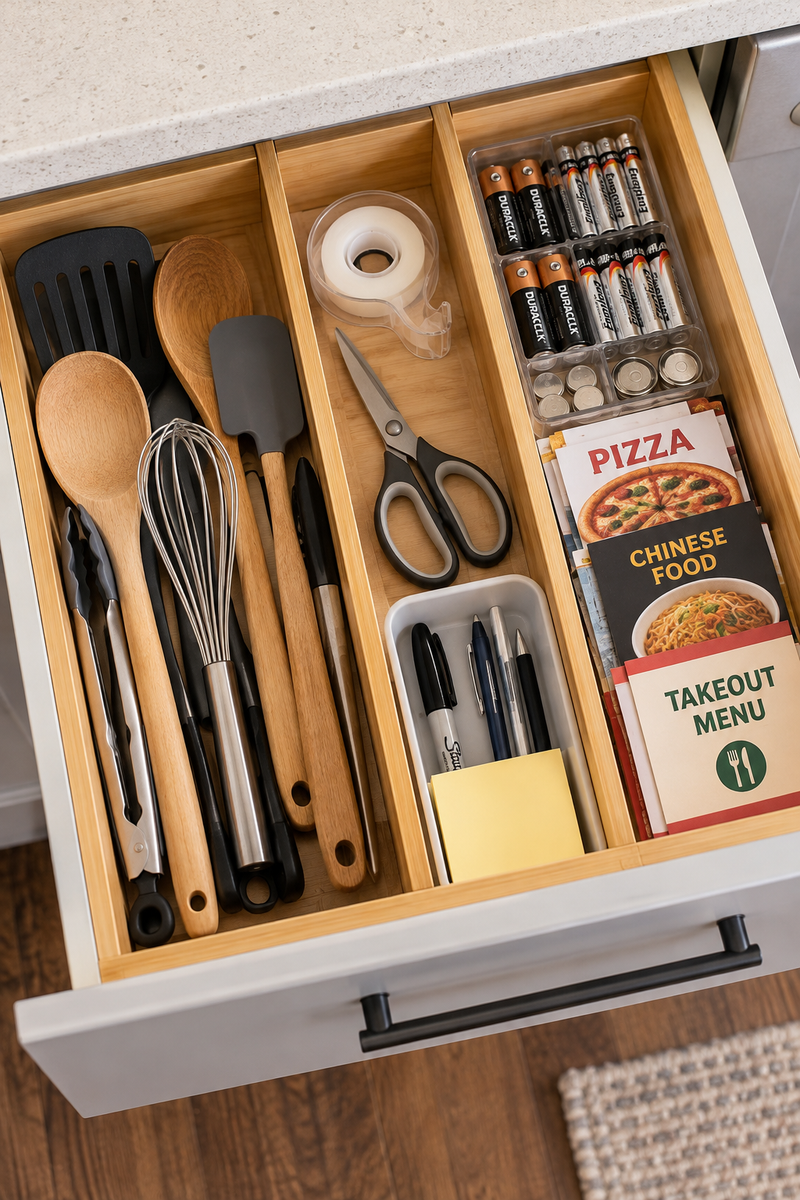
Start with one drawer and one job.
Adjustable dividers press into place and stretch to fit, so even a deep or oddly shaped drawer gets neat lanes. Give each lane one type of item, such as cooking tools, tape and scissors, or takeout menus. Once every lane has a job, the drawer stays readable instead of sliding back into one pile.
Look for: dividers that expand to fit and a grippy edge so they stay put when the drawer slides.
Space-Saving Tip: Lay tall tools on their side so the drawer closes fully, and keep rarely used items in the back lane.
Whisks, tape, batteries, and menus slide into one pile every time the drawer opens.
Each item type has its own lane, so the scissors turn up without lifting anything.
4. Use an Over-the-Door Rack on the Pantry Door
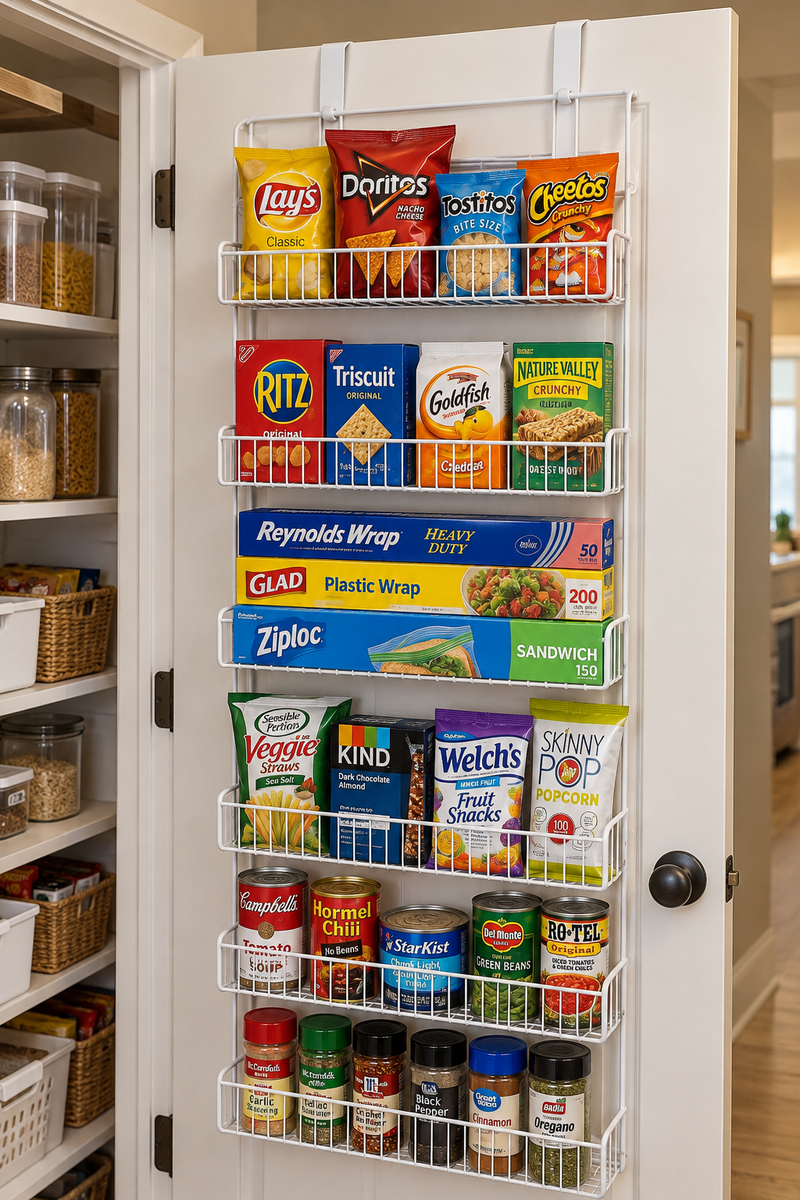
Open the pantry door and look at the back of it. That blank panel can hold snacks, foil, and wraps.
An over-the-door rack hooks over the top edge, so nothing is screwed in. Check your lease and the rack’s weight limit, and make sure the door still shuts with the rack on.
Look for: padded hooks, a slim profile, and shelves with a front lip so cans stay put.
Space-Saving Tip: Load light packets and wraps on the upper rows and keep heavier cans low, which keeps the door easier to swing.
⚠️ Watch Out
Test the door before you load the rack. If the door drags on the frame or the rack bumps a shelf, move it to a different door or choose a slimmer one.
5. Add a Shelf Riser to Double a Cabinet Shelf
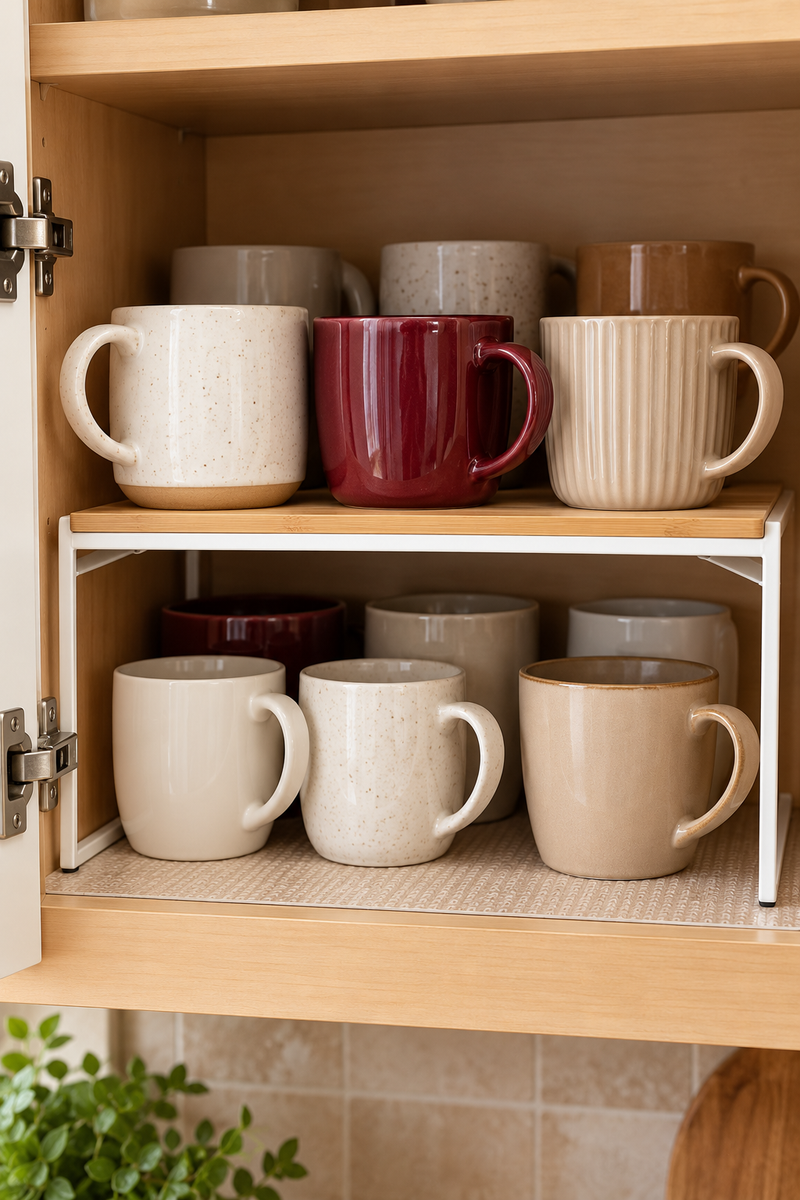
A fixed shelf can still hold two layers.
A freestanding riser sits on the shelf and creates a second level, so plates, bowls, or mugs stop stacking into one tower. You see everything at a glance and pull out one piece without lifting the rest. Nothing mounts to the cabinet, so it leaves with you.
Look for: a sturdy frame, non-slip feet, and a width that matches the shelf.
Space-Saving Tip: Put daily items on the front edge of the top level and park the occasional ones toward the back.
Measure the height between shelves before buying.
Keep daily mugs on the top level.
Loading past the weight listed by the maker.
Blocking the swing of the cabinet door.
6. Stick Hooks Inside the Cabinet Door for Measuring Cups
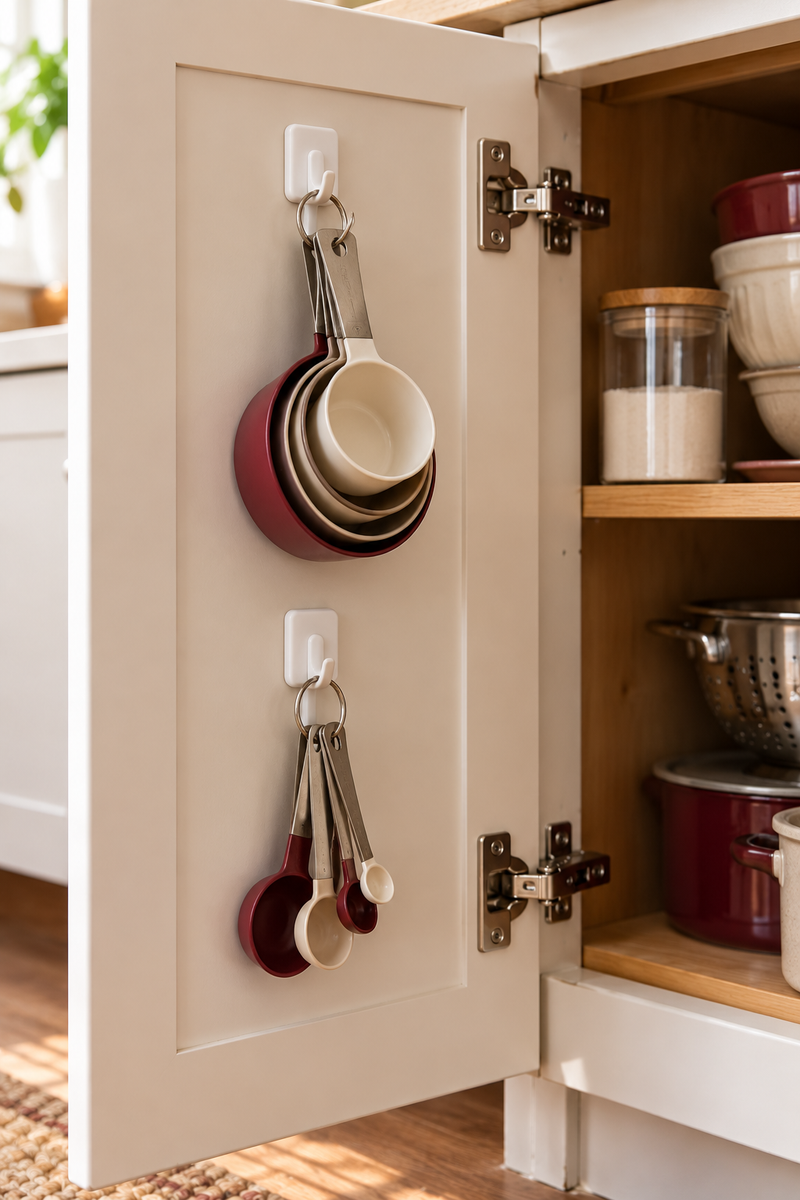
One rule keeps this idea simple: only hang what is light.
Removable adhesive hooks on the inside of a cabinet door turn dead space into a spot for measuring cups, spoons, or a small pot lid. Check your lease and the weight limit on the pack, and test one hook on a hidden spot before you commit.
Look for: hooks labeled as removable, with strips that release when pulled slowly.
Space-Saving Tip: Hang one hook low and one high so the cups nest in a short column instead of spreading across the door.
Dry the spot so the strip can grip.
Press each hook firmly for the time printed on the pack.
Wait before hanging anything, then add the lightest item first.
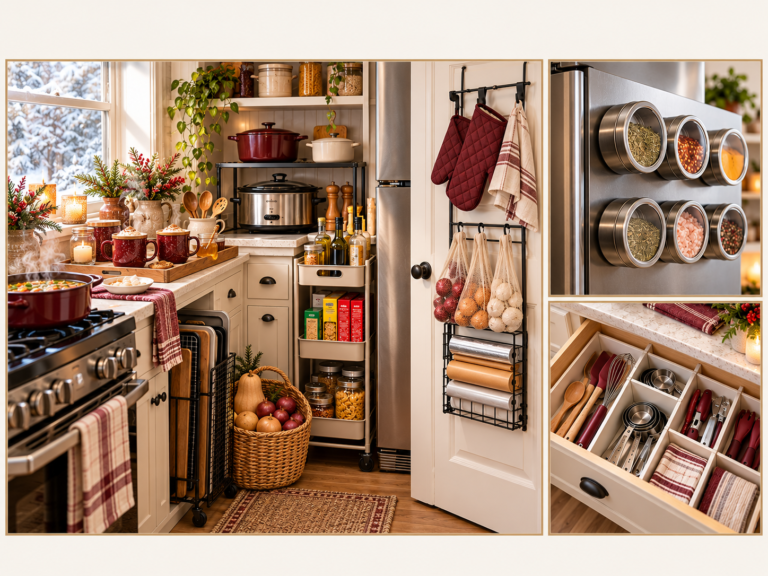
7. Park Magnetic Spice Tins on the Side of the Fridge
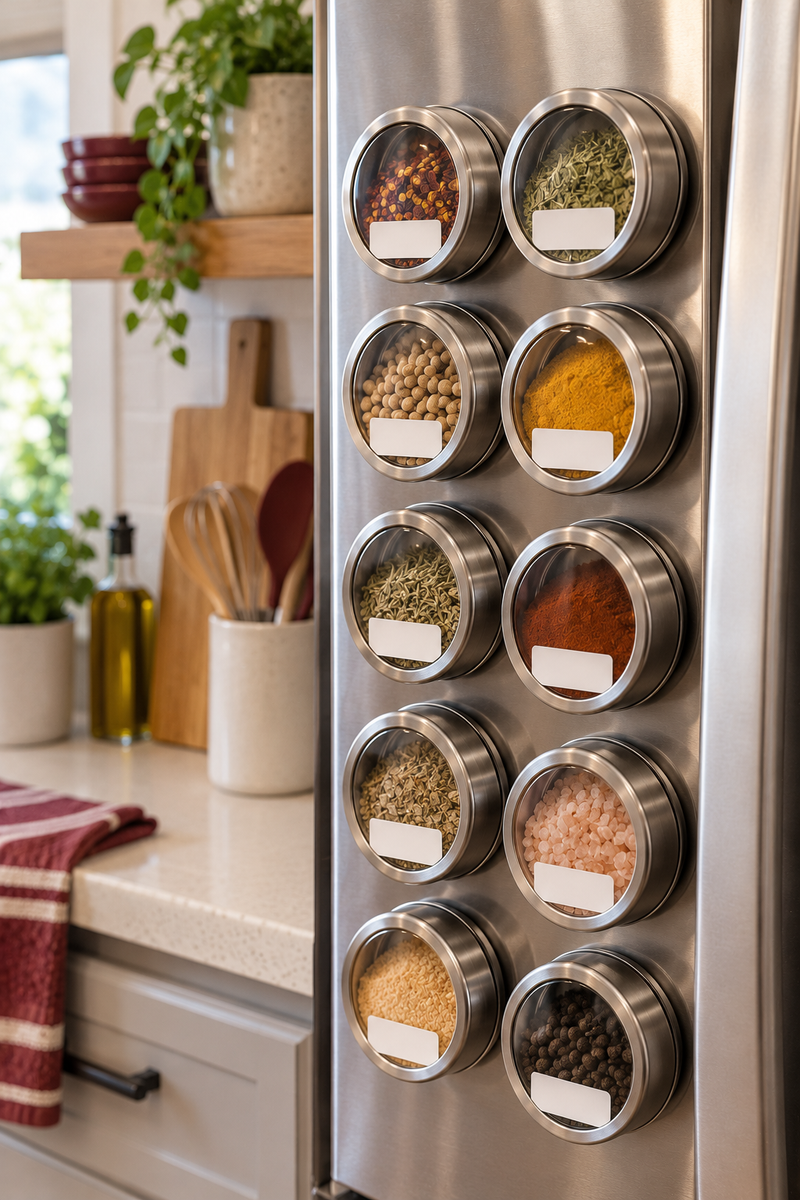
A crowded cabinet shelf or a bare steel side panel. For spices you grab mid recipe, the panel wins.
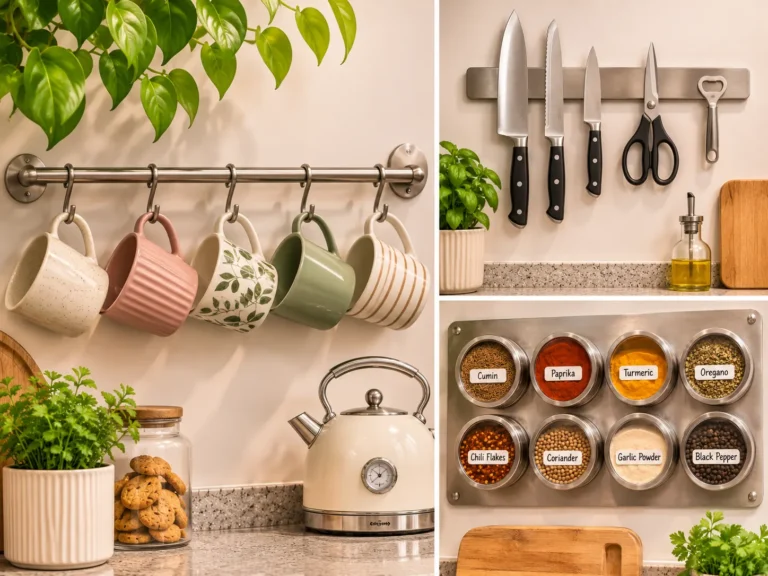
Magnetic tins stick straight to the fridge side, so there is nothing to mount and nothing to patch later. Check that the side is magnetic first and stay under the pack’s weight limit. Label the lids so you are not opening four tins to find paprika.
Look for: strong magnets in the base, clear lids, and a flat bottom.
Space-Saving Tip: Stack tins in tight columns by cuisine and keep the daily ones at eye level, so the lower rows hold backups.
8. Set a Freestanding Shelf Over the Toilet
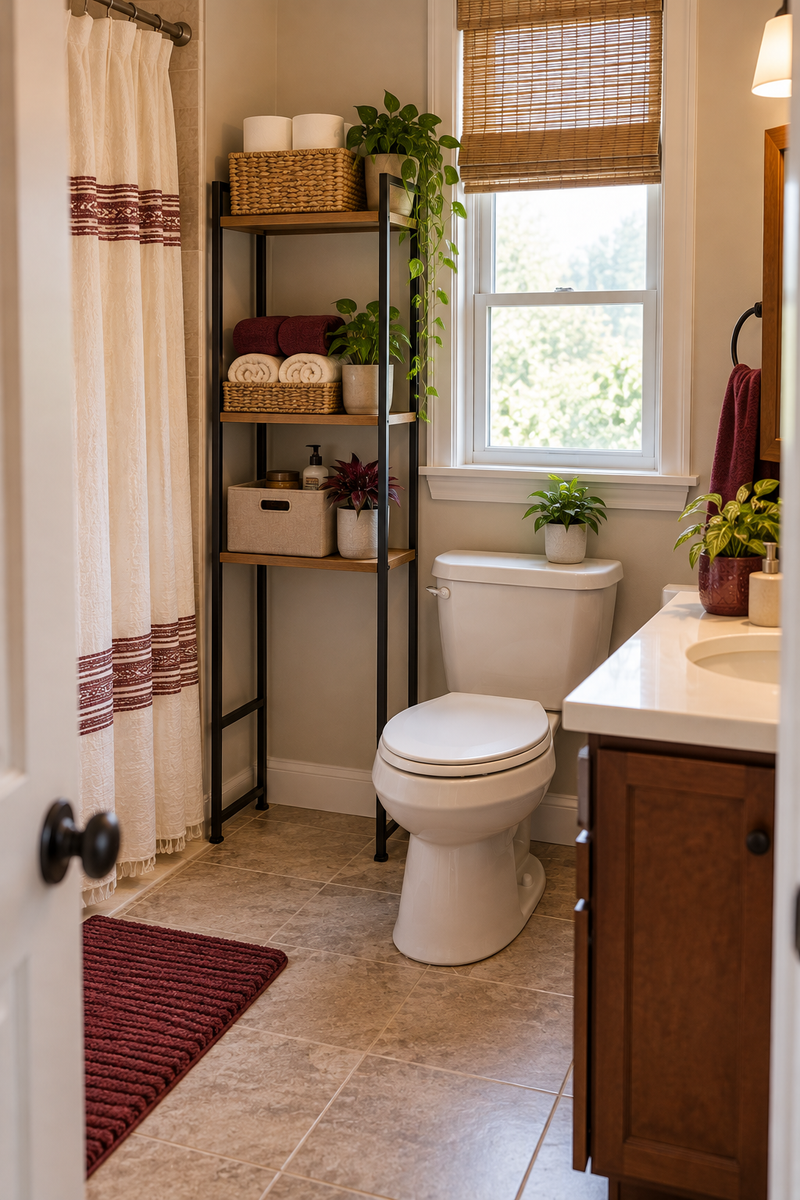
Most small bathrooms jam everything onto the vanity while the space above the toilet stays empty.
A freestanding shelf unit straddles the toilet and stands on the floor, so nothing is mounted to the wall. Use the top for a basket of spare rolls, the middle for towels, and the bottom for one small bin. Follow the maker’s setup steps and keep it clear of the tank lid.
Look for: adjustable feet, a narrow frame that clears the tank, and open shelves.
Space-Saving Tip: Roll towels instead of folding them, since rolled towels fit side by side in a shallow basket.
📌 Good To Know
Measure the width at the base of the toilet, not just the tank. Some units are too wide for a narrow bathroom and block the door swing.
9. Hang a Shower Caddy to Free the Tub Edge
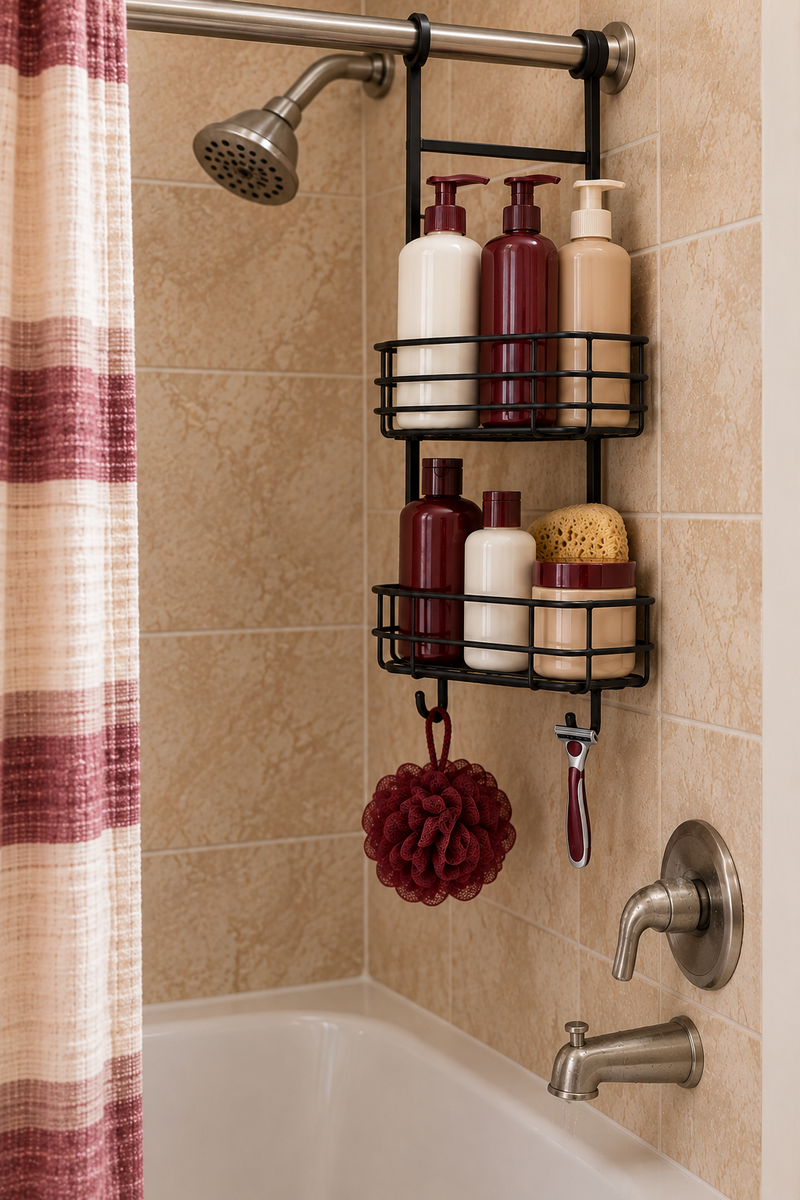
Bottles off the tub edge means fewer drops and more elbow room.
A hanging shower caddy loops over the shower rod or the showerhead pipe, so the edge of the tub stays free. Choose one with separate shelves for shampoo, soap, and razors. Check your lease and the weight limit before loading it, because full bottles are heavier than they look.
Look for: a rust resistant finish, drain holes, and wide hooks that sit securely.
Space-Saving Tip: Keep only this week’s bottles in the caddy and move backups to the cabinet under the sink.
Weight is the limit that matters. Fill the caddy with daily items only and keep the bulk bottles somewhere else.
10. Stack Clear Drawers Inside the Vanity Cabinet

Under a bathroom sink, height is the thing nobody uses.
Stackable clear drawers sit on the cabinet floor and turn one open space into a few small pull out bins. Give each drawer one role, such as hair tools, spare toiletries, and first aid basics. Because the sides are clear, you spot what is running low before it runs out.
Look for: smooth sliding drawers, a footprint that clears the pipes, and units that work alone or stacked.
Space-Saving Tip: Fill the top drawer with daily items so you can reach them without pulling the whole stack forward.
- ▸Top drawer: items you reach for every day.
- ▸Middle drawer: refills and spares.
- ▸Bottom drawer: tools and first aid basics.
Quick Comparison Table: Ideas 1 to 10
| Idea | Space Needed | Cost Level | Best Use |
|---|---|---|---|
| 1) Tension rod | One cabinet width | Low | Spray bottles |
| 2) Two-tier organizer | Cabinet floor | Medium | Bottles and supplies |
| 3) Drawer dividers | One drawer | Low | Tools and small items |
| 4) Pantry door rack | Back of a door | Low | Snacks and wraps |
| 5) Shelf riser | One shelf | Low | Mugs and bowls |
| 6) Cabinet door hooks | Inside a door | Low | Measuring cups |
| 7) Magnetic tins | Fridge side | Low | Daily spices |
| 8) Over-toilet shelf | Floor footprint | Medium | Towels and spare rolls |
| 9) Shower caddy | Shower rod or pipe | Low | Daily bath products |
| 10) Clear drawers | Cabinet floor | Medium | Spares and tools |
11. Hook a Hair Tool Holder Over the Cabinet Door

The hair dryer lives on the counter because it has nowhere else to go.
An over-the-cabinet-door holder hangs on the door edge and gives the dryer, straightener, and brush a home inside the vanity. Check your lease, the holder’s weight limit, and whether the door still closes. Let hot tools cool fully before they go in.
Look for: a heat resistant material, padded hooks, and separate slots for each tool.
Space-Saving Tip: Coil each cord loosely and secure it with a reusable tie so it never catches on the hinge.
12. Roll a Slim Cart Into the Gap Beside the Tub
That odd gap beside the tub or vanity is not wasted yet.
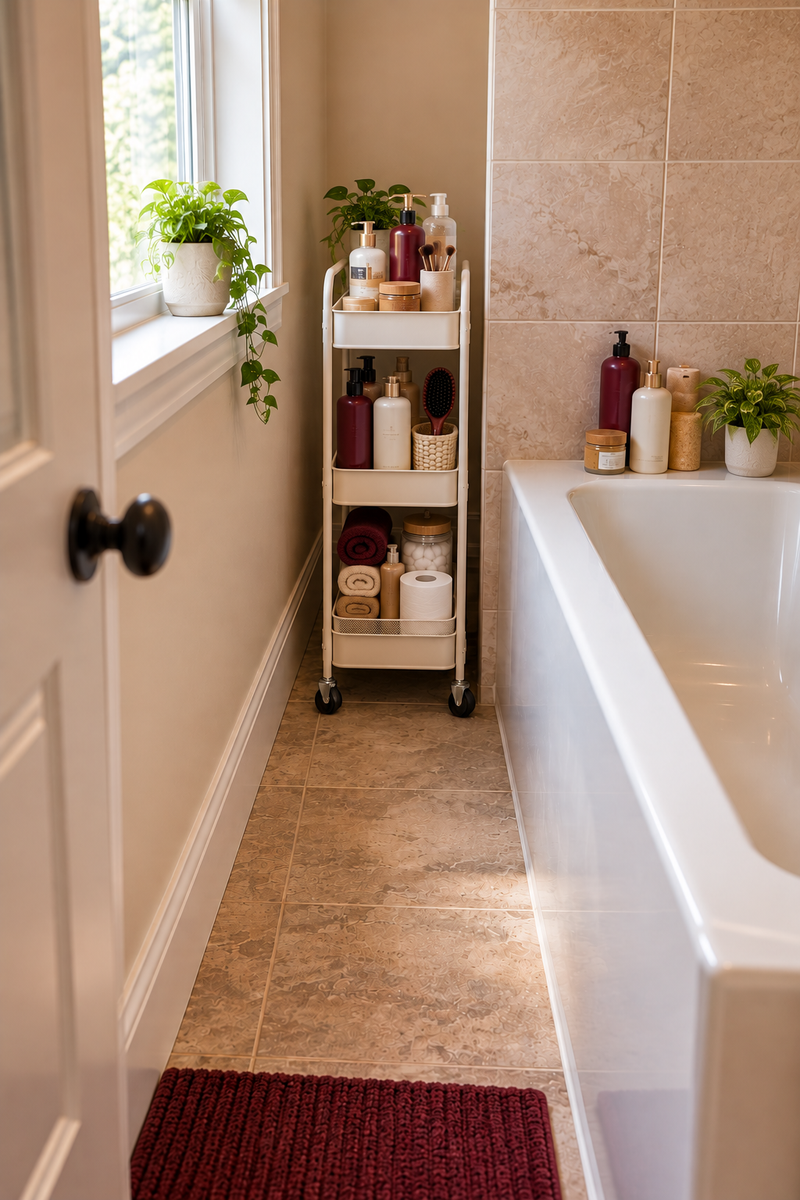
A slim rolling cart slides in and out, so you can pull it out when you need a spare towel and tuck it back after. Use the top tray for daily skincare, the middle for hair products, and the bottom for refills.
Look for: a narrow frame, locking wheels, and baskets deep enough for tall bottles.

Space-Saving Tip: Park it with the handle facing the door so you can pull it out without squeezing past.
Measure the gap at its narrowest point, including any trim.
Compare it to the cart’s footprint, wheels included.
Roll it in and check that the door still opens fully.
13. Slide Lidded Boxes Under the Bed
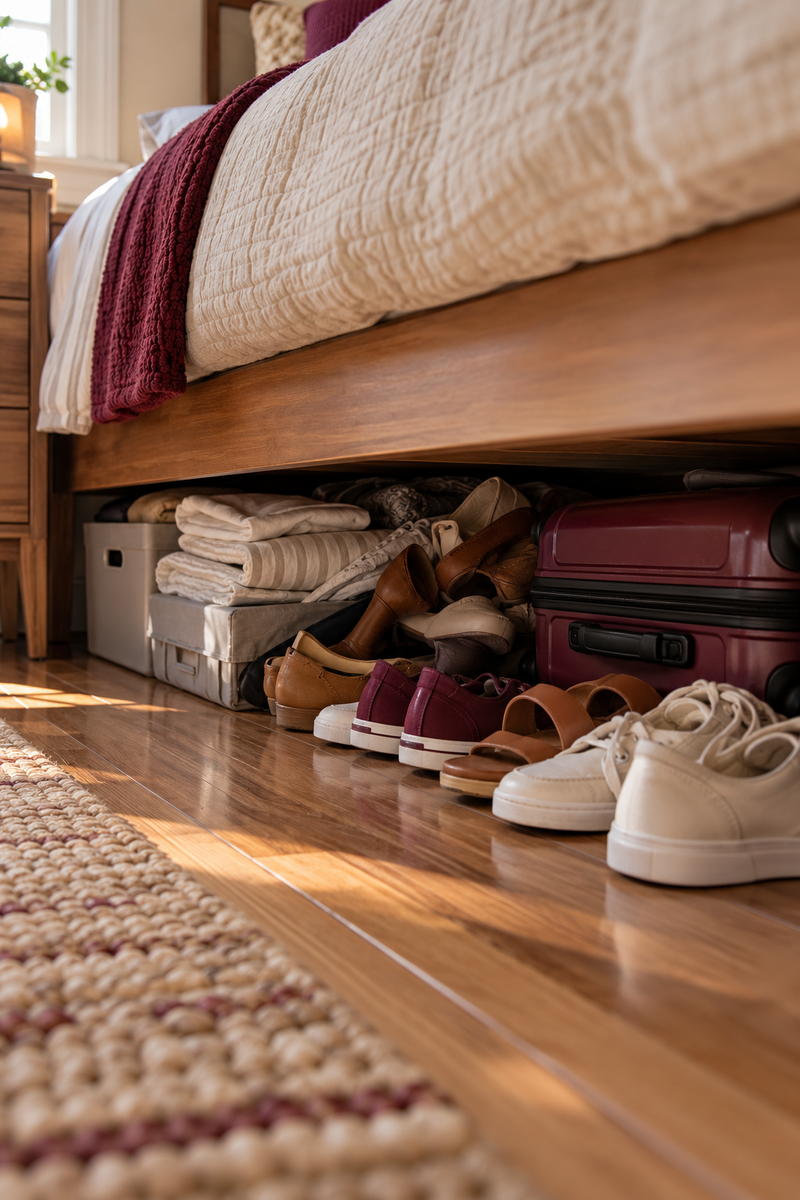
Soft bags or hard boxes under the bed?
Hard boxes with lids hold their shape, stack neatly, and slide out smoothly. Soft bags squeeze into tighter gaps but can sag. Choose boxes for out of season clothes and bags for bedding, and measure the gap between the frame and the floor first.
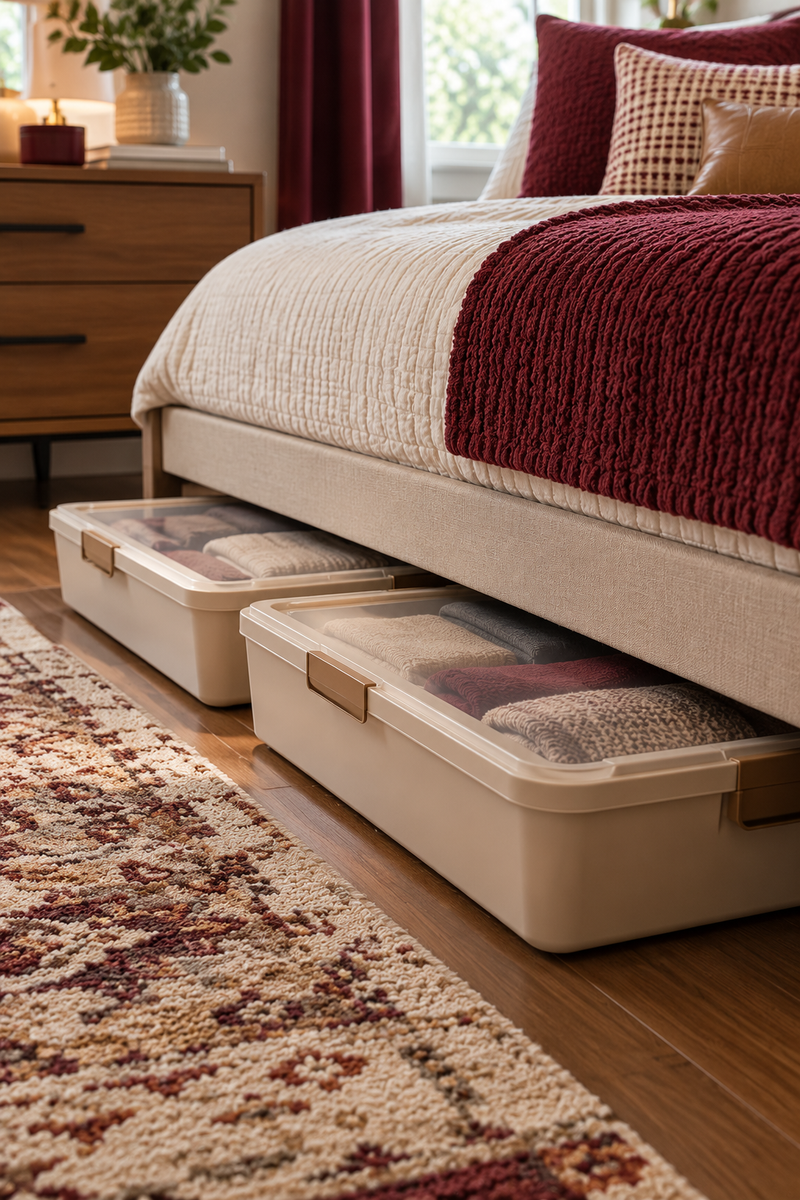
Look for: a low profile, wheels or smooth bases, and lids that stay shut.
Space-Saving Tip: Keep the box you use most at the front edge and slide the rarely used one to the back wall.
Shoes, spare sheets, and a suitcase wedged under the bed in one pile.
Each box has one season or one job, and they slide out in a line.
14. Hang Bags and Belts on an Over-the-Door Hook Rack
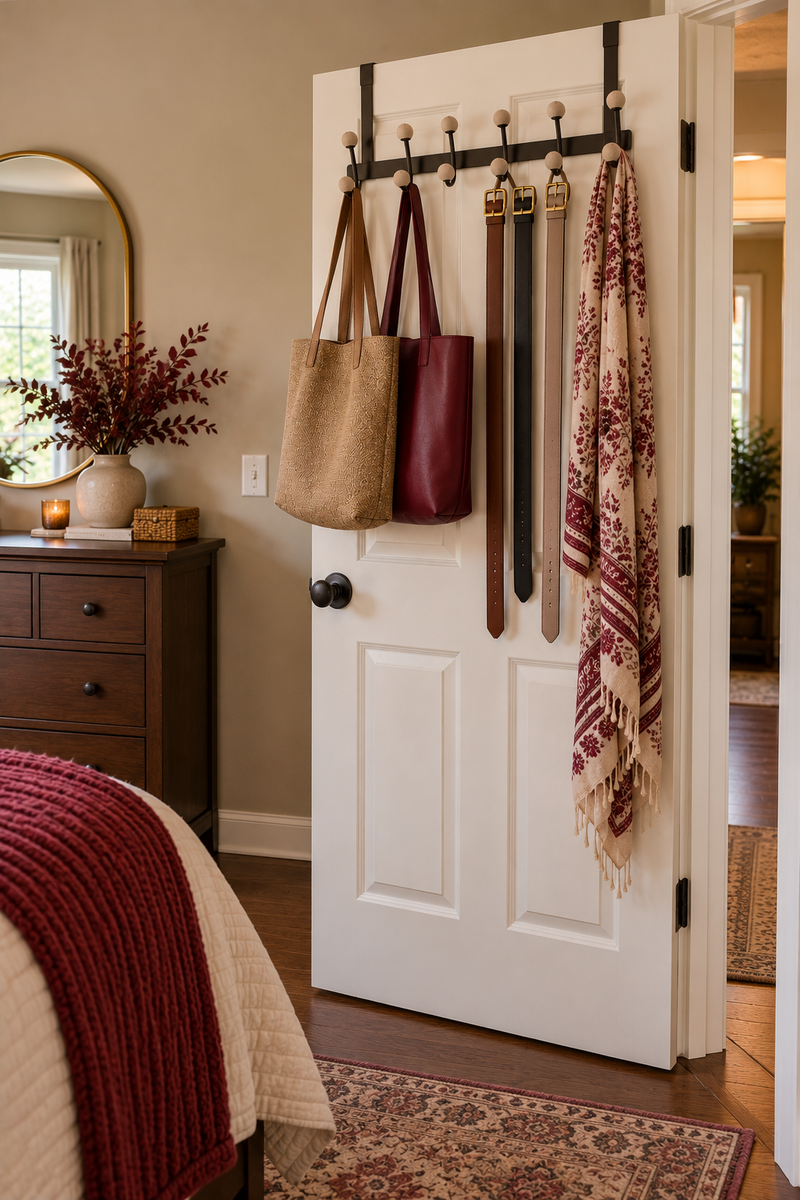
The back of the bedroom door can hold more than a bathrobe.
Tote bags, belts, scarves, and a jacket all fit on one hook rack that sits over the top of the door. Check your lease and the hooks’ weight limit, and hang heavy bags by their straps close to the top. Padded hooks help the door shut quietly.
Look for: padded hooks, an over-the-top design with no screws, and a frame that suits your door thickness.
Space-Saving Tip: Add a second row of hooks lower down for things you grab less often.
📌 Good To Know
Check your door thickness before ordering. A rack that does not fit can rattle or keep the door from closing all the way.
15. Add a Hanging Shelf Organizer to the Closet Rod

Closet shelves arrive all at once, with no brackets.
Hanging fabric shelves loop over the closet rod and give you folded storage in the space under your clothes. Use the rows for sweaters, jeans, and tees. Check the rod’s weight limit and the organizer’s weight limit, since two heavy loads add up.
Look for: sturdy fabric, side pockets, and a hanging loop that fits your rod.
Space-Saving Tip: Hang it at the end of the rod where it will not crowd the hangers, and fold clothes to match each shelf’s depth.
16. Swap Bulky Hangers for Slim Ones With Cascade Hooks

Thin hangers add up fast.
Slim hangers take far less rod space than bulky plastic ones, and cascade hooks let one hanger carry a second garment below it. Swap one shelf of clothes at a time and hang matching items together so the rod reads like a row.
Look for: a slim, non-slip finish, a sturdy hook, and cascade hooks sized for your hangers.
Space-Saving Tip: Face every hanger the same way, then flip one backward after wearing it to see what you never grab.
Before you swap hangers
17. Clip a Rod Extender Onto the Closet Rod
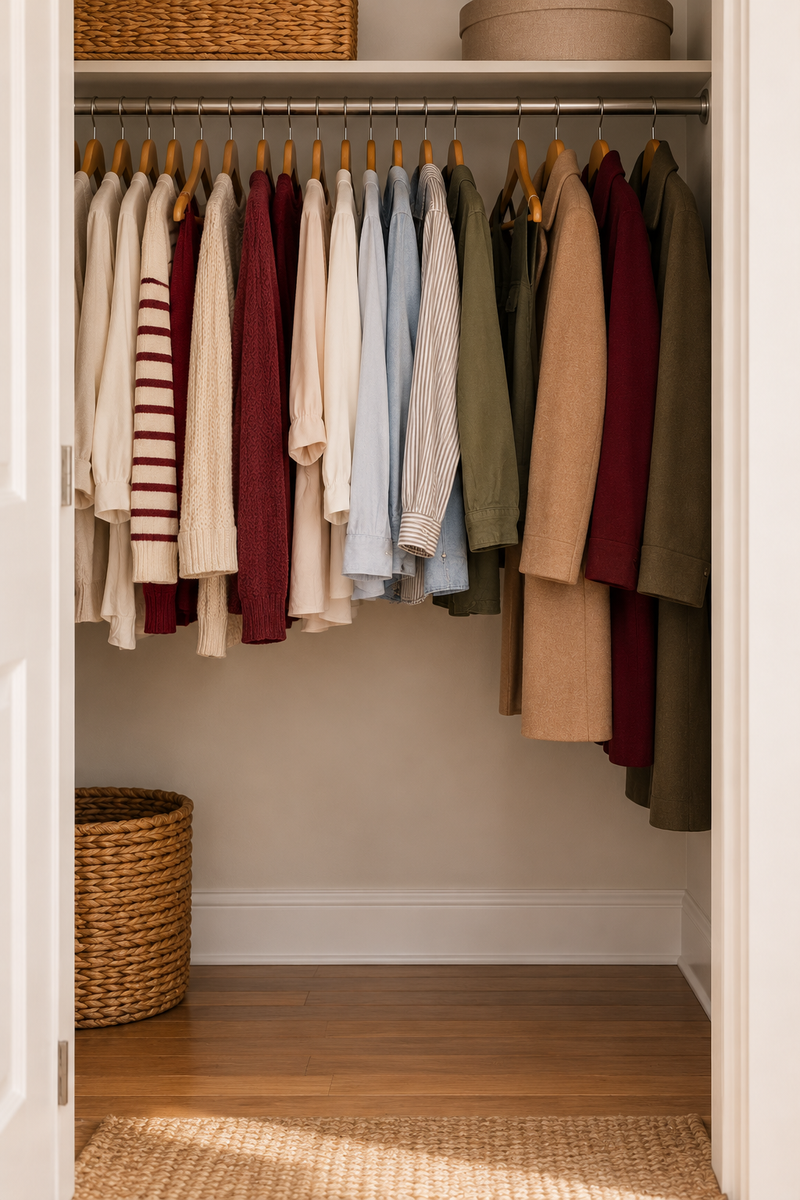
One rod, and nothing under the shirts but empty air.
A hanging rod extender clips onto the existing rod and drops a second rail below it, so short items like shirts and folded pants hang in two tiers. Check the original rod’s weight limit first, because two tiers of clothes weigh more than one.
Look for: a strong hook, a drop that clears your shoes, and non-slip ends.
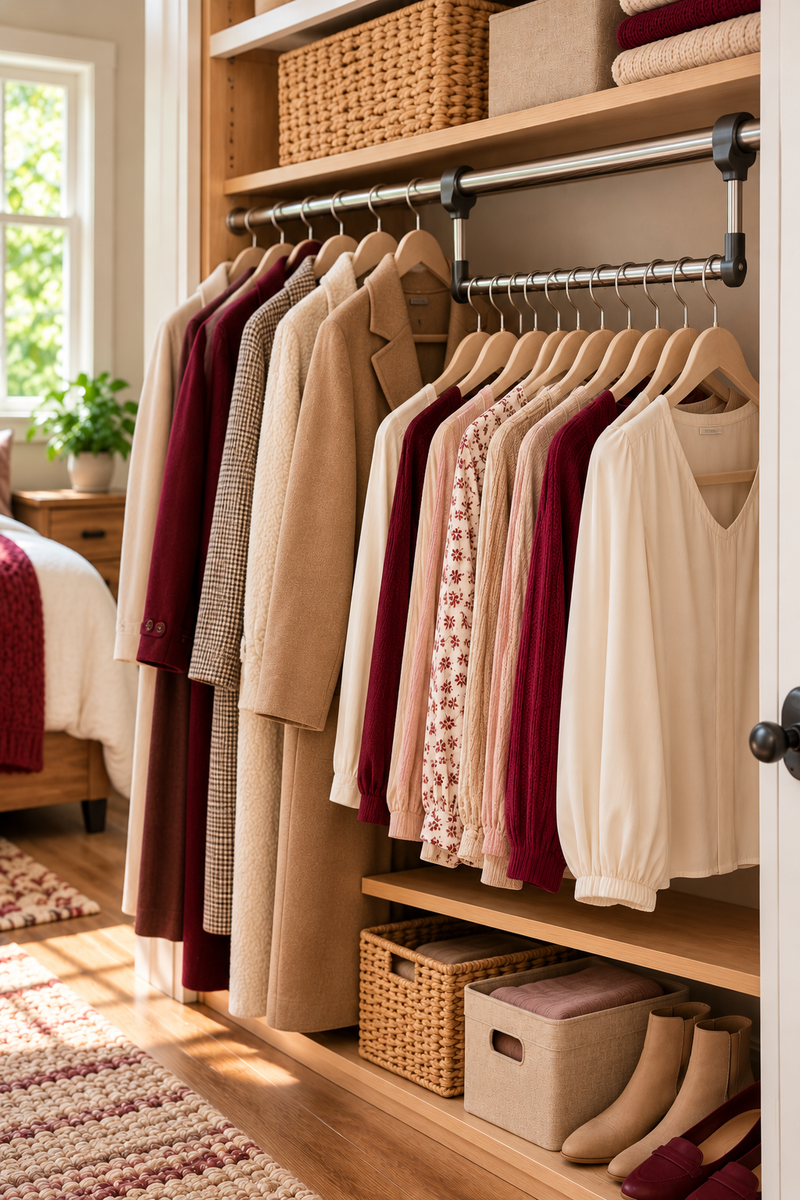
Space-Saving Tip: Hang shorts and tops on the lower rail so the long coats on the main rod can still reach the floor.
Hang short items only on the lower rail.
Test with a light load before adding more.
Hanging long dresses on the lower rail.
Loading past the rod’s listed weight limit.
18. File Fold Dresser Clothes So Every Shirt Shows

Stacked tees hide the one at the bottom, so you keep digging.
File folding means folding each piece into a small rectangle that stands on its edge, like files in a cabinet. You see every item at once, and you can pull one out without disturbing the rest. Soft dividers or small open boxes help the rows hold their shape.
Look for: soft fabric dividers or small open trays that fit your drawer width.
Space-Saving Tip: Fold bulky knits flatter and thin tees tighter, so the rows stand evenly and the drawer shuts without a bulge.
Fold the shirt in thirds, lengthwise.
Fold again until it can stand on its own edge.
Line the rows front to back, with the newest piece on the left.
19. Lift the Bed on Risers to Open Floor Storage
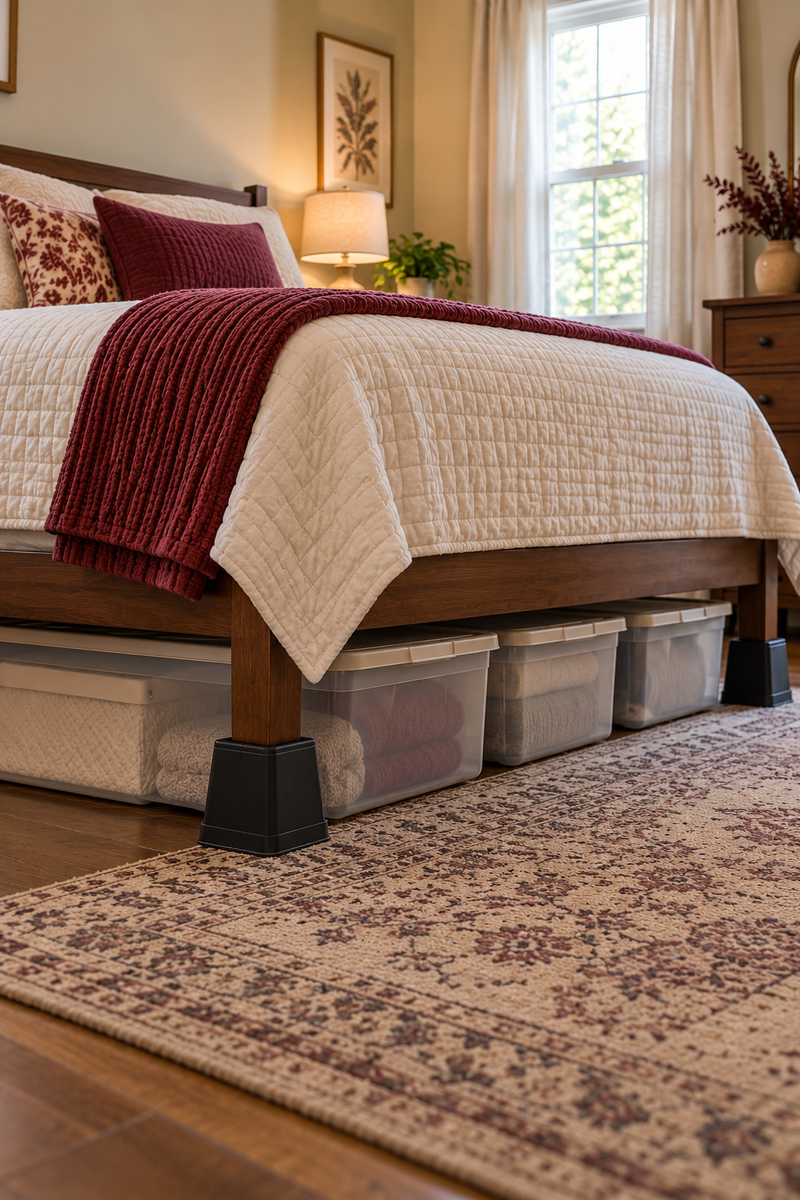
Check the bed frame’s feet first.
Bed risers raise each leg of the frame and open a taller gap for under bed storage. Follow the maker’s instructions, compare the riser’s weight rating with the bed and the people who sleep on it, and set each one so the frame sits level.
Look for: a wide, non-slip base, a weight rating that fits your bed, and a groove that holds the leg.
Space-Saving Tip: Once the gap is taller, store off-season coats in tall boxes near the head of the bed where there is more room to reach.
Read the rating before you lift anything. A riser only works if its listed limit fits the bed it is holding.
20. Give Each Roommate a Color Coded Bin
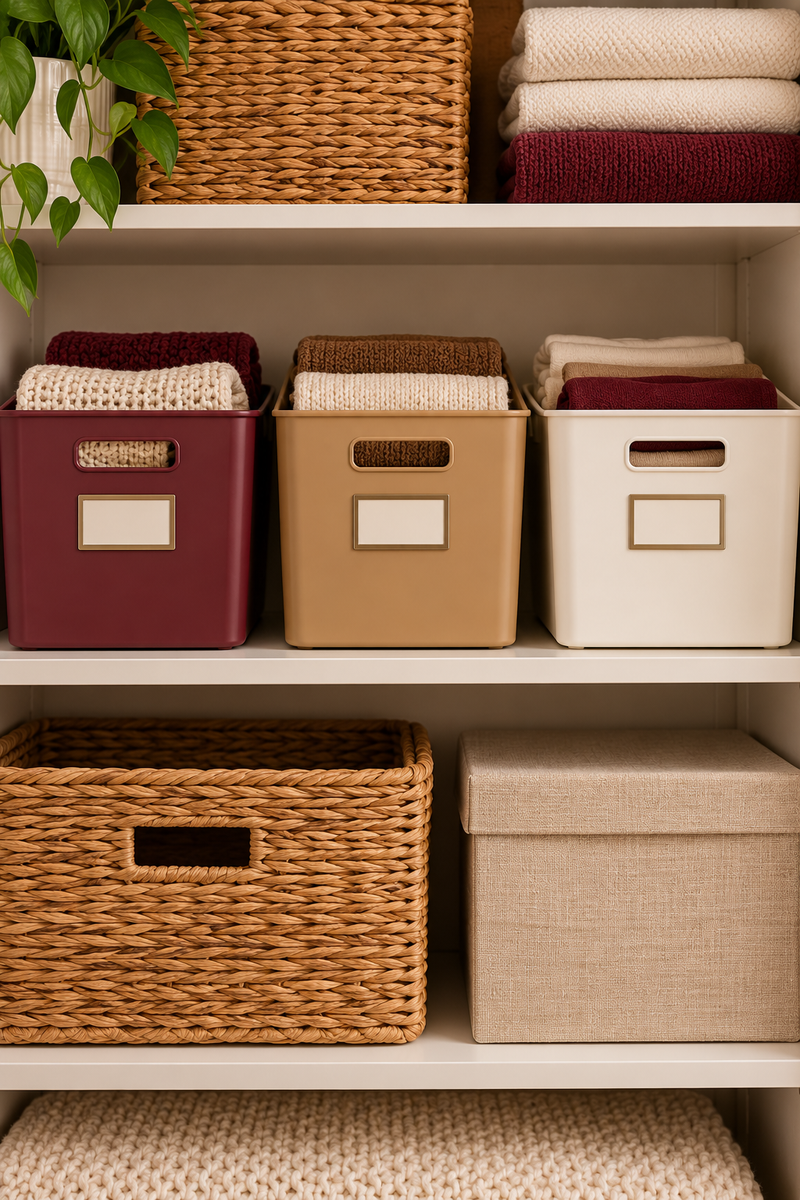
Shared shelves turn into a negotiation by midweek.
One bin per person, each in its own color, ends the question of whose towel is whose. Each bin holds that person’s items, and the shelf around it stays neutral. Cheap plastic bins and a label are enough. Start by dividing the shelf into even zones.
Look for: bins of matching size, label slots that are easy to read, and handles that help them slide out.
Space-Saving Tip: Keep shared items like spare tissues in one bin at the end of the shelf instead of splitting them.
💡 Quick Tip
Agree on zones in advance and write names on the labels before the bins go on the shelf, so the system survives the first busy week.
Quick Comparison Table: Ideas 11 to 20
| Idea | Space Needed | Cost Level | Best Use |
|---|---|---|---|
| 11) Hair tool holder | Inside a door | Low | Dryer and brush |
| 12) Slim rolling cart | Narrow gap | Medium | Skincare and refills |
| 13) Lidded boxes | Under the bed | Medium | Off-season clothes |
| 14) Door hook rack | Back of a door | Low | Bags and belts |
| 15) Hanging shelves | Below the clothes | Low | Folded clothes |
| 16) Slim hangers | Closet rod | Low | Everyday clothes |
| 17) Rod extender | Below the clothes | Low | Short items |
| 18) File folding | One drawer | Low | Tees and knits |
| 19) Bed risers | Bed legs | Medium | Tall boxes under the bed |
| 20) Color coded bins | One shelf zone | Low | Shared household items |
Frequently Asked Question:
Do I need my landlord’s approval for these ideas?
Freestanding and hanging options usually do not touch the walls, but lease rules differ. Anything with adhesive, hooks, or tension should be checked against your lease first. When in doubt, ask in writing.
How do I know a hook or rack will hold my things?
Read the weight limit on the pack and add up what you plan to hang. Stay under it, and test with a light load before you commit.
What should I buy first on a tight budget?
Start with the cheapest fix for your biggest daily annoyance, such as drawer dividers or a tension rod. Add one piece at a time and see what actually helps.
Will these come with me when I move?
Most of them will, since they stack, hang, or stand alone. Keep the packaging for bulkier pieces so they are easier to move.
Final Thoughts:
Small rentals ask for creative solutions, but they rarely ask for expensive ones. The best renter friendly storage ideas work with what the space already offers, like the back of a door, the gap under a bed, or the empty wall above a toilet.
Start with the spot that annoys you most, fix it with one idea from this list, and see how it feels after a week. Check your lease, read the weight limits, and keep the receipts for anything you might return.
Then save this list for the next time your space needs sorting.
2 Comments